Introduction
You spent real money building a gym in your garage, basement, shed, or pole barn—and humidity, sweat, and chalk are quietly working against it. Rust creeps onto barbells and plates. Treadmill belts dry out. Bench pads crack, and the room starts to smell musty.
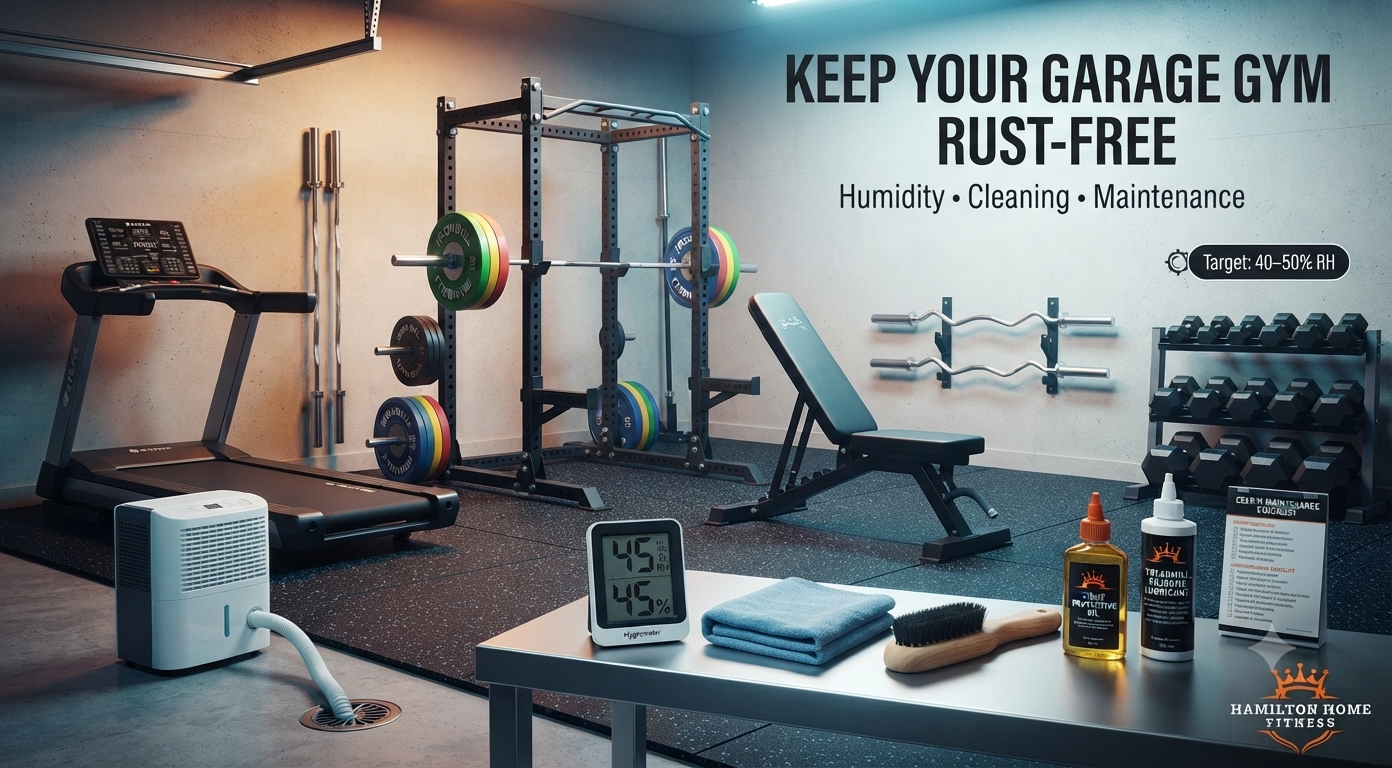
None of it is inevitable. Garage gym rust prevention and maintenance come down to one repeatable system, and this guide covers the whole thing: a real monthly, quarterly, and yearly schedule; rust removal matched to each finish; correct cardio lubrication; climate numbers sized to an actual garage; safe cleaning for every surface; and seasonal and warranty protection.
One reason to trust the calls here: we're an authorized dealer for more than 40 brands, not a manufacturer pushing one line. That means the advice stays brand-neutral and warranty-aware—built around what keeps your equipment alive, not what sells you something.
Why Humid Garages Wreck Gym Gear
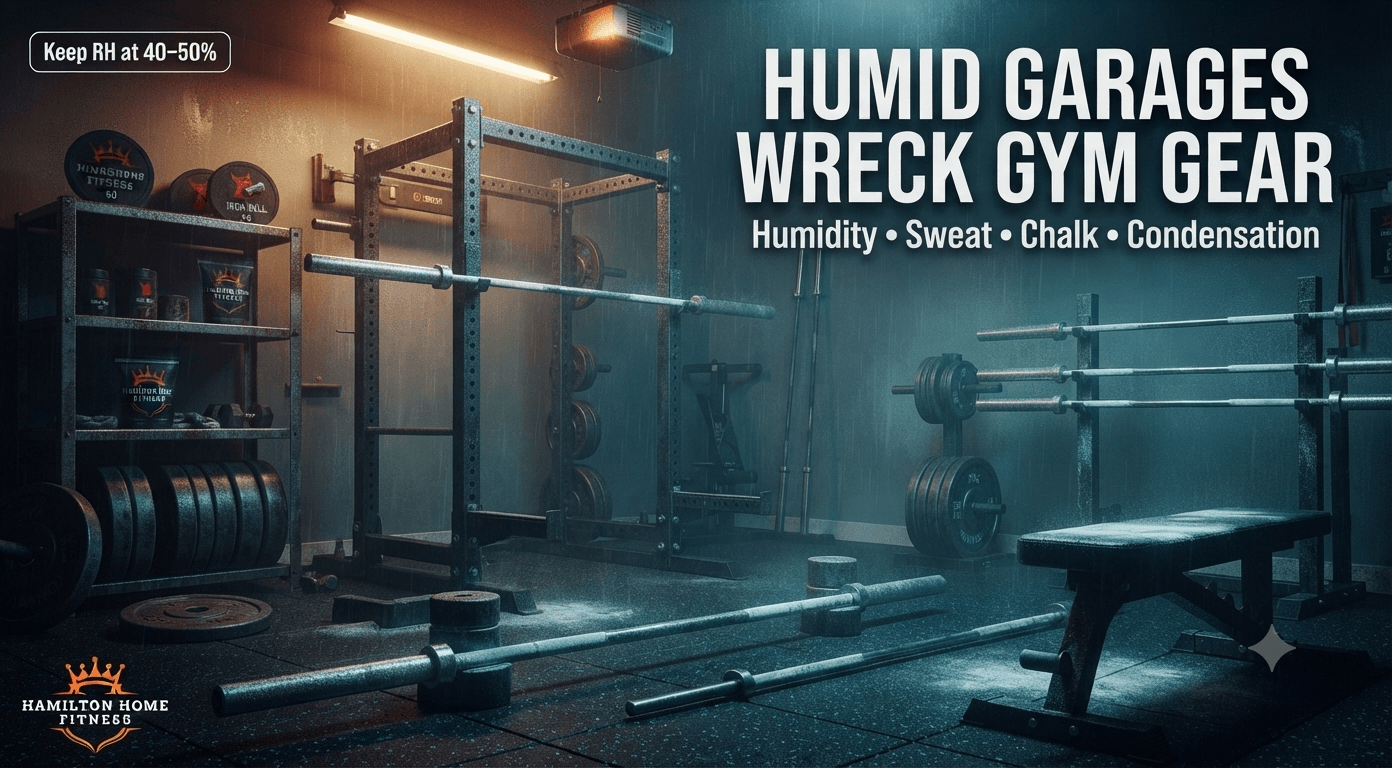
Rust needs three things: moisture, oxygen, and bare metal. A garage supplies all three faster than any climate-controlled room, because sweat, humidity, chalk, and temperature swings keep feeding the reaction. That's why barbells, plates, and machine internals can corrode in a garage even when they sit unused for weeks.
The four things that attack your gear
Four forces do most of the damage in a garage gym, and they usually work together.
The first is humidity — moisture hanging in the air that settles on cold steel. The second is sweat, which is worse than plain water because the salt in it speeds up corrosion the same way road salt eats a car in winter. The third is chalk, which is hygroscopic—meaning it pulls moisture out of the air and holds it against the bar. Leave chalk in the knurling overnight in a humid garage, and you've built a small rust factory on your grip. The fourth is temperature swings, which cause condensation: warm, damp air hits cold metal, and a thin film of water forms on everything.
Control these four and you've solved most of the problem before it starts.
How much humidity is too much
Rust risk climbs sharply once relative humidity passes about 50%, and above 60% it accelerates fast.
Relative humidity, or RH, is just how much moisture the air is holding compared to the most it could hold at that temperature. The target for a gym is 40–50% RH. Below that range, steel stays dry and rust barely moves. Above 60%, you're also in the zone where mold and dust mites thrive, so the same number protects your gear and your air. A cheap hygrometer tells you exactly where you stand, and the climate section covers how to hit that target.
Why cheaper or worn finishes rust first
The finish on your steel is the first line of defense, and once it chips or wears, bare metal is exposed to moisture.
Every bar and plate has some kind of coating, and they don't all hold up the same. Stainless steel resists rust from the inside out, since the protection is in the metal itself with no plating to chip. Cerakote and hard chrome hold up well too. Black zinc and e-coat give solid protection at a lower cost. Bare or raw steel offers the best grip feel but rusts easily and needs the most care — though the dull patina it develops over time is normal and actually protects the surface underneath. This is one place where build quality shows: heavier, better-finished equipment, like the difference between commercial-grade and residential builds, tends to survive humid, unconditioned spaces longer than budget gear with thin coatings.
Know what finish you own, and you'll know how hard to work to protect it.
Your Home Gym Maintenance Schedule
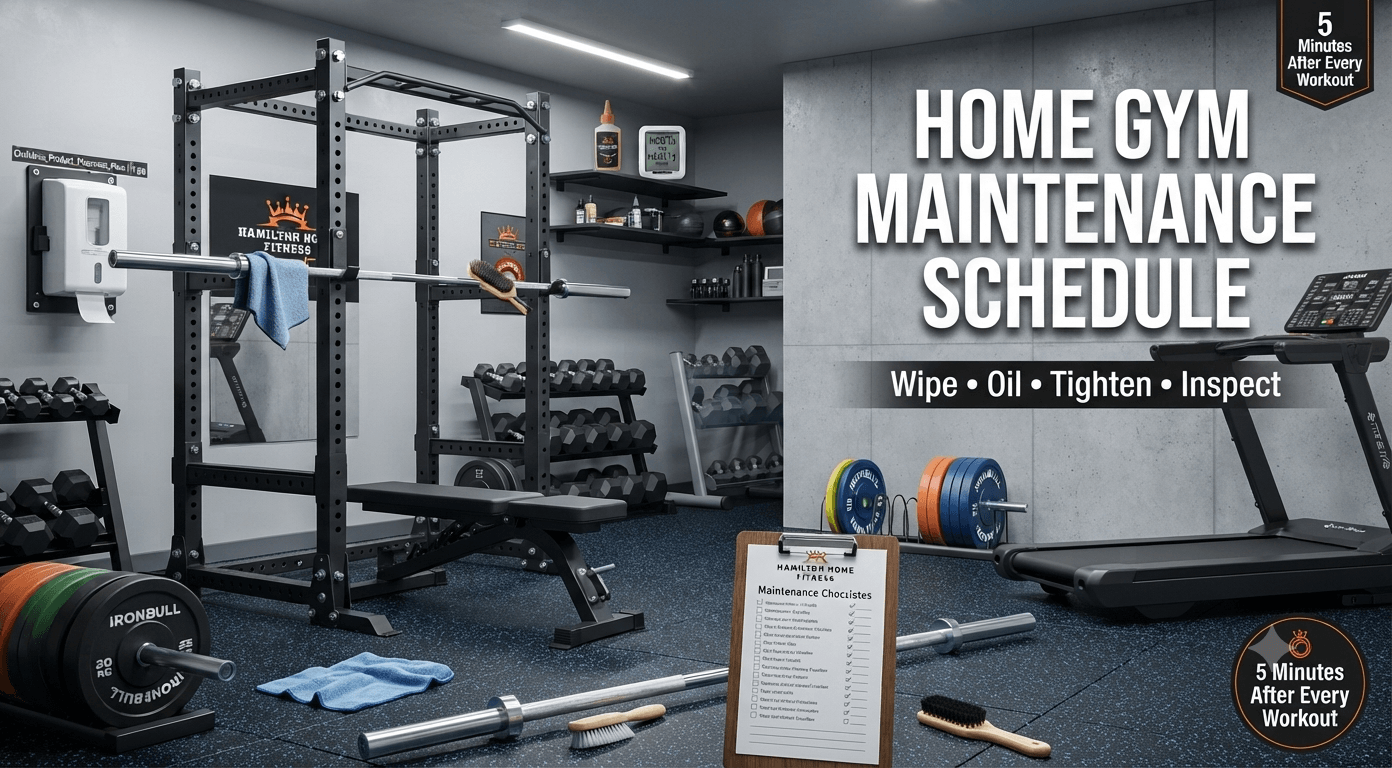
A working schedule has four speeds. After every session, wipe and dry your gear. Once a month, brush and oil bare metal and check for rust. Once a quarter, deep-clean, tighten hardware, and lubricate cardio equipment. Once a year, do a full teardown, finish check, and climate review.
Here's the whole rhythm at a glance:
Frequency | Core tasks |
After every session | Wipe sweat off bars, handles, and pads; brush chalk out of the knurling; dry any damp metal |
Monthly | Brush and lightly oil bare steel; inspect for early rust; wipe frames, and check pads |
Quarterly | Deep-clean surfaces; lubricate treadmill belt; tighten all hardware; inspect cables |
Yearly | Service barbell sleeves, inspect treadmill deck, reapply finish where worn, and review warranty and climate |
Want it on the wall or the fridge? You can keep this as a printable monthly and yearly checklist and just tick the boxes as you go—the easiest way to actually stay on schedule instead of catching rust after it's already there.
After every session (5 minutes)
The single most effective habit is a five-minute wipe-and-dry right after you train.
Wipe sweat off bar shafts, dumbbell handles, and bench pads while it's still fresh—sweat's salt is what accelerates rust.
Brush chalk out of the knurling with a nylon brush so it can't trap moisture against the steel overnight.
Dry any metal that feels damp. Don't close up the garage on a wet bar.
Do this consistently and you'll rarely need the harder jobs below.
Monthly and quarterly tasks
Once a month, brush and oil bare metal and inspect for early rust; once a quarter, go deeper.
Monthly:
Brush and apply a light oil to bare-steel bars and any exposed metal.
Scan bars, plates, and hardware for early orange spots and treat them before they spread.
Wipe down frames and check pads for cracks or slick residue.
Quarterly:
Deep-clean floors, frames, and machine surfaces.
Lubricate the treadmill belt with 100% silicone, or follow your model's manual.
Tighten your power rack hardware and re-check every bolt for movement.
Inspect cables and guide rods for fraying or built-up grime.
The quarterly pass is where you catch loosening bolts and a dry belt before either turns into a real failure.
Yearly deep maintenance
Once a year, do the jobs that are easy to skip but protect the machine long term.
Service barbell sleeves and bushings so they still spin freely.
Inspect the treadmill deck and reapply finish or oil anywhere it's worn thin.
Check your warranty terms and update your maintenance records for the year.
Take a full hygrometer reading and review whether your climate setup is still holding 40–50% RH.
Running a shared or multi-user space instead of a personal setup? The wear is heavier and the cadence tighter—the commercial maintenance schedule lays out facility-grade routines built for that load.
Stop and Remove Rust by Finish Type
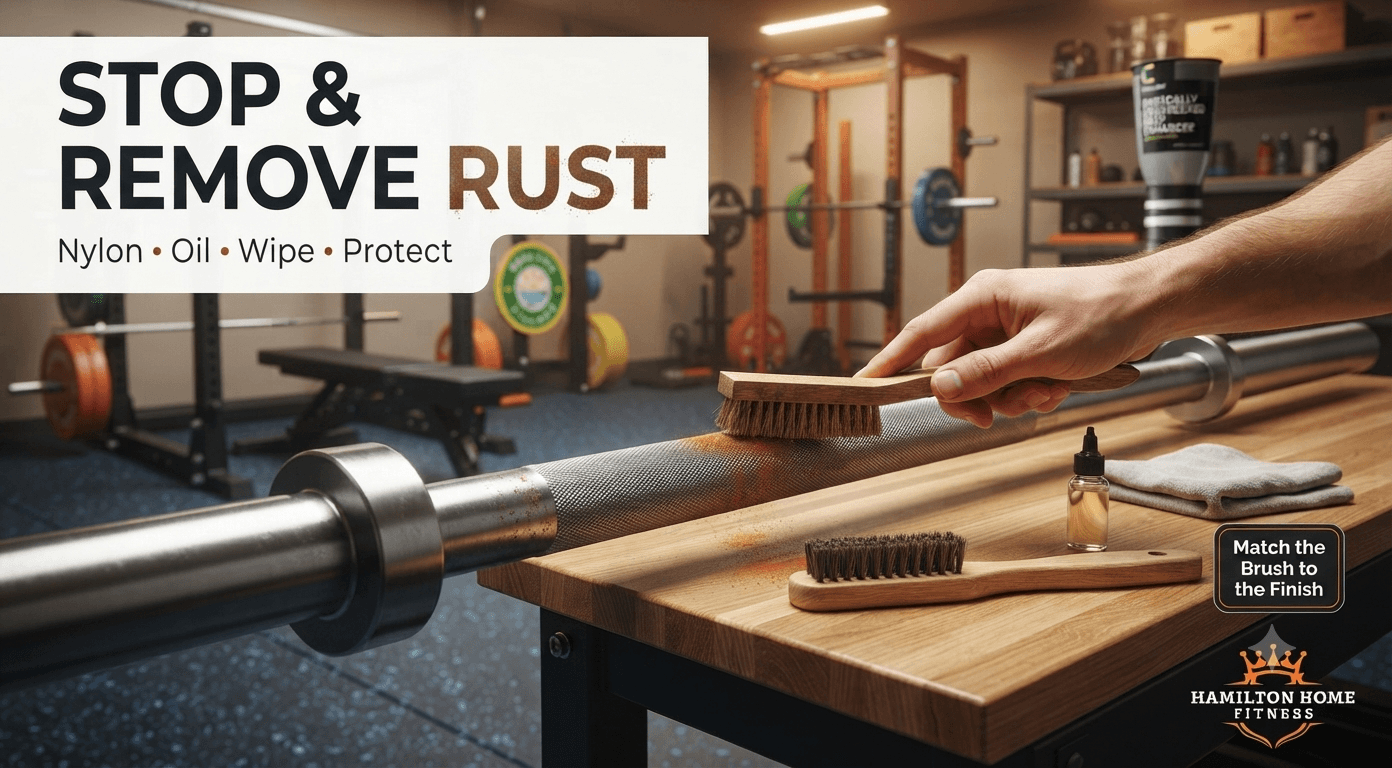
Preventing rust is a one-minute habit; removing it safely depends on your bar's finish. Brush the chalk out and keep bare metal lightly oiled, and most rust never forms. To remove it, match the tool to the coating—nylon on any bar, brass only on bare steel, or a stiffer brush as a last resort—loosen the rust with oil first, then wipe it off and protect the surface.
Prevent rust before it forms
Preventing rust takes about a minute: brush the chalk out of the knurling and wipe the bar down after use.
Chalk is the quiet culprit here. It pulls moisture from the air and holds it in the knurling, so a bar left chalky overnight in a humid garage is basically marinating in damp. A quick pass with a nylon brush clears it. Once a month, wipe a thin coat of light oil onto any bare steel, and keep plates and dumbbells off bare concrete so condensation can't collect underneath.
Stay on that habit and you'll almost never reach for the removal steps below. The same care applies across your barbells, plates, and dumbbells — anything with exposed steel.
Which brush and oil for each finish
The wrong brush ruins a finish, so match it to the coating: nylon is safe on everything, brass belongs on bare steel, and a plain steel wire brush should never touch a coated bar.
Here's the quick reference:
Finish | Safe brush | Oil needs |
Stainless steel | Nylon (brass if needed) | Rarely—an occasional wipe |
Cerakote | Nylon | Rarely |
Hard chrome | Nylon | Occasional light oil |
Bright / black zinc | Nylon only | Occasional light oil |
Black oxide | Nylon only | Oil regularly |
Bare / raw steel | Nylon, then brass | Oil regularly |
A few rules make the table safer to use. Brass is soft enough to spare bare and stainless steel, but it will strip black oxide, black zinc, and thin-budget chrome—so those get nylon only. Stainless and cerakote resist rust so well that they mostly need a wipe, while bare steel and black oxide have little natural protection and want oil on a schedule. Whatever you use, apply the oil to the rust, let it sit 15 to 30 minutes to loosen the corrosion, and then brush—you'll do far less scrubbing. Finish by wiping the bar with a lint-free cloth so the knurling doesn't grab lint.
The WD-40 truth and moving parts
WD-40 is a good rust solvent but a poor final coat — use it to loosen rust, wipe it off, then apply a protective oil.
This is where people go wrong. WD-40 cleans and dissolves rust well, but it isn't a lubricant, and it leaves a residue you don't want on your hands or sitting on the steel. So treat it as a cleaner, not the finish: dissolve the rust, wipe it dry, then protect with a light oil. For heavy rust on a bare or stainless bar only, you can wrap it in vinegar-soaked rags, then neutralize with a baking soda-and-water wipe—skip this on coated bars, since vinegar eats finishes.
The sleeves need less attention than people assume. Most spin on oil-impregnated bushings or sealed bearings that never need oiling. If your bar has small oil ports in the sleeves, drip a little light oil in — not WD-40 — and wipe away anything that runs out.
Cardio Machine Maintenance That Lasts
Most treadmills need 100% silicone lubricant every three months or 130 to 150 miles, applied under the belt—never WD-40 or petroleum spray. Ellipticals, rowers, bikes, and cables need periodic cleaning and light, targeted lubrication instead. Always check your model's manual first, since some belts come pre-lubricated and shouldn't be oiled at all.
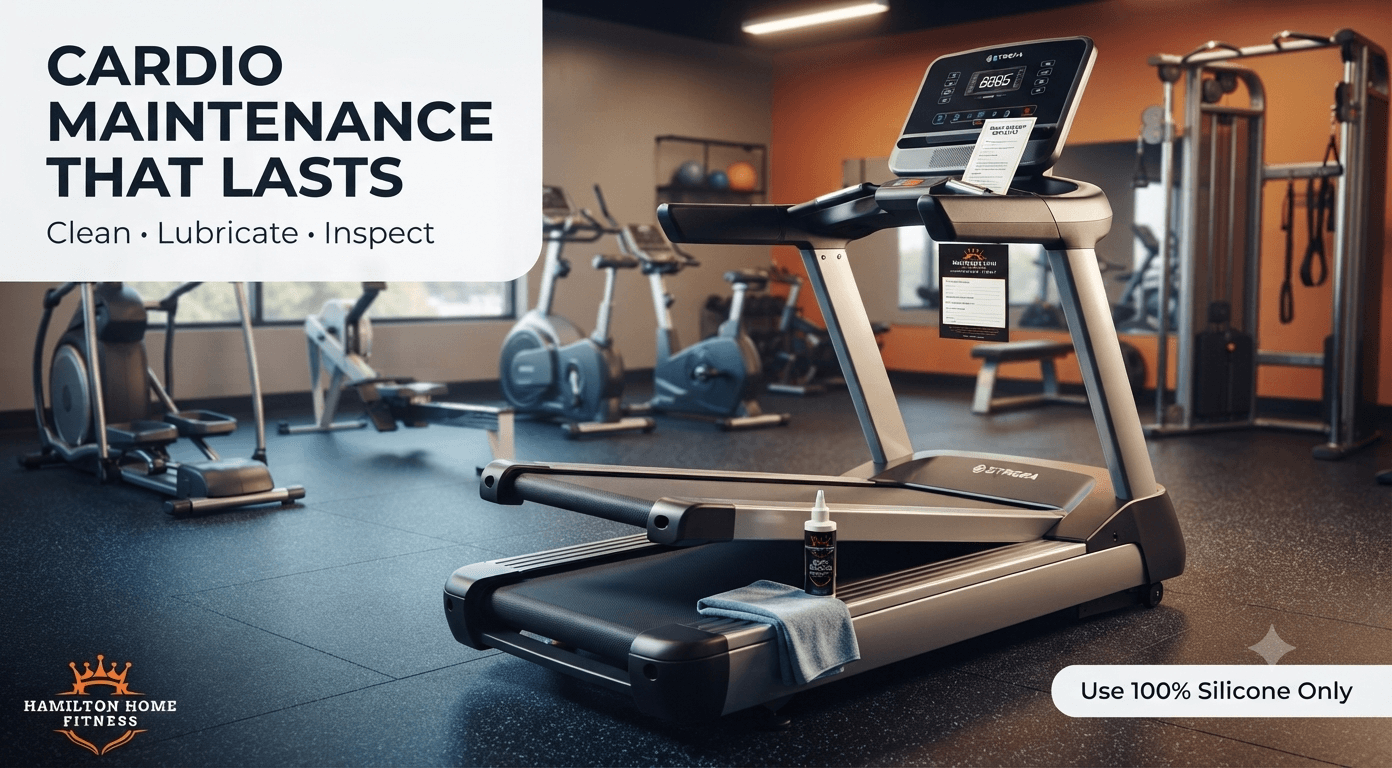
That last point matters before you touch anything. Brands set different intervals, and a few use self-lubricating belts, so the manual is the final word. Applying lubricant to a belt that doesn't need it can cause its own damage.
Treadmill belt lubrication
Use 100% silicone treadmill lubricant every three months or 130 to 150 miles, whichever comes first.
The lube goes between the belt and the deck — the fixed board the belt slides over — not on top where you run. Lift one side of the belt, apply the silicone toward the center, then do the other side and walk the machine slowly to spread it. A simple check tells you when it's due: with the machine unplugged, reach under the belt and feel for a little moisture. "Dry" means it's time.
Never use WD-40, petroleum oils, or general-purpose spray. They break down the belt and deck, attract grit, and can void your warranty. The motor and rollers don't need anything — the rollers ride on sealed bearings. Some machines from brands like Spirit, Matrix, Horizon, and True flash a "lube" reminder or run on maintenance-free belts, so confirm your interval before you start. You can find the right belt care details for treadmills and cardio machines in each model's manual.
Ellipticals, rowers, and bikes
Most other cardio needs cleaning and light lubrication of the moving contact points, not the belt-style service treadmills get.
An elliptical's wear points are its pivots and bearings, so a little grease or dry silicone on those keeps the stride quiet. A rowing machine's chain benefits from a light chain oil or dry silicone wiped along the links—a squeak or gritty feel is your cue. Exercise bikes mostly need a clean drivetrain and an occasional drop of oil on the chain if they have one. In every case, go light. Too much lubricant just collects dust.
Cable machines and functional trainers
Guide rods and cables are the parts that decide how a stack feels, and they fail quietly when neglected.
Keep the guide rods — the vertical bars the weight stack slides on — clean and lightly treated with a dry silicone spray, which lubricates without leaving a sticky film. Resist the urge to over-lubricate; excess grease attracts dust and turns to grime that drags on the stack. While you're there, run a hand along the cables and check for fraying or kinks, and keep spray out of the pulley housings. A frayed cable is a safety issue, not just a wear item, so replace it early.
Climate Control That Protects Gear
Keep a garage gym between 40% and 50% relative humidity. Most garage gyms need a 50-pint dehumidifier with a continuous drain or a desiccant unit if the space runs cold. For real temperature control, add a mini-split sized to the space—roughly 12,000 to 24,000 BTU for a two-to-three-car garage—after you insulate the door.
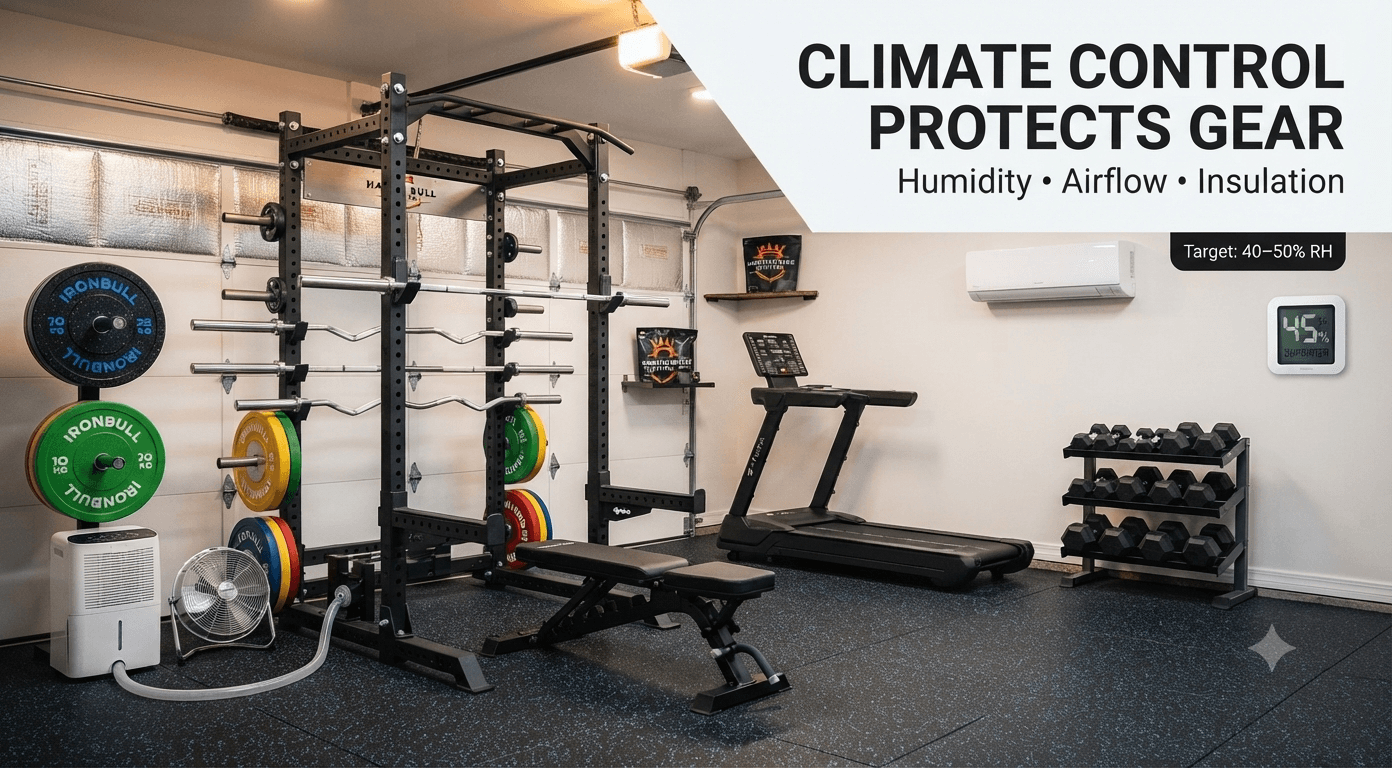
Climate control isn't a luxury here. It's the one upgrade that protects every piece of steel in the room at once, which is why it usually pays for itself in gear you don't have to replace.
Hit and measure your humidity target
Aim for 40 to 50% relative humidity and confirm it with a cheap hygrometer rather than guessing.
A hygrometer is a small, inexpensive gauge that reads the moisture in the air, and it takes the guesswork out of everything else in this section. Set it in the gym, watch where the number lands, and you'll know whether you have a real problem or just an occasional damp week. Below 50%, steel stays dry. Let it climb past 60%, and rust—plus mold—moves fast.
Dehumidifier sizing done right
A 50-pint dehumidifier suits most garage gyms under today's rating, but a cold space needs a desiccant unit so the coils don't freeze.
One wrinkle trips people up: the Department of Energy changed how dehumidifiers are rated in 2020, so a unit labeled 50 pints today does the work of an old 70-pint model. That size covers most garage gyms. Two adjustments matter for a garage, though. If you live in the humid Southeast, size up about 10 pints for the extra load. And if your garage regularly drops below 60°F, skip a standard compressor unit — its coils freeze — and choose a desiccant dehumidifier, which uses a moisture-absorbing wheel and keeps working in the cold. Run a drain hose to a floor drain so you're not emptying a bucket every day.
Mini split, insulation, and airflow
Insulate the garage door first, then size a mini split near 30 BTU per square foot — usually 12,000 to 24,000 BTU for a two-to-three-car garage.
A mini-split is a ductless heating and cooling unit with a small indoor head and an outdoor compressor, and BTU is just the measure of its capacity. Garages need more power per square foot than a bedroom because the walls and door leak so much air, which is why the order matters. Insulate the door and walls first — an uninsulated door forces the system to run flat out and burn out early. Then size the unit: a 12,000 BTU model suits a smaller space, and 18,000 to 24,000 BTU suits a larger two- or three-car garage. A bonus worth knowing: running a mini split on its "dry" mode also pulls humidity, so in summer it does double duty. Add a fan or two for air movement, and you've covered temperature and moisture together.
If you're weighing a full climate-controlled build rather than a single unit, HHF can help you spec the space when you plan a garage or home gym build.
Safe Cleaning for Every Surface
Match the cleaner to the material, or cleaning does more harm than good. Use mild soap or a vinyl-safe cleaner on pads and condition them to stop cracking. Use a pH-neutral cleaner and only a damp mop on rubber flooring. Keep bleach, solvents, and strong alcohol off both. Wipe metal frames with mild soap and vacuum chalk before wiping so it doesn't smear into seams.
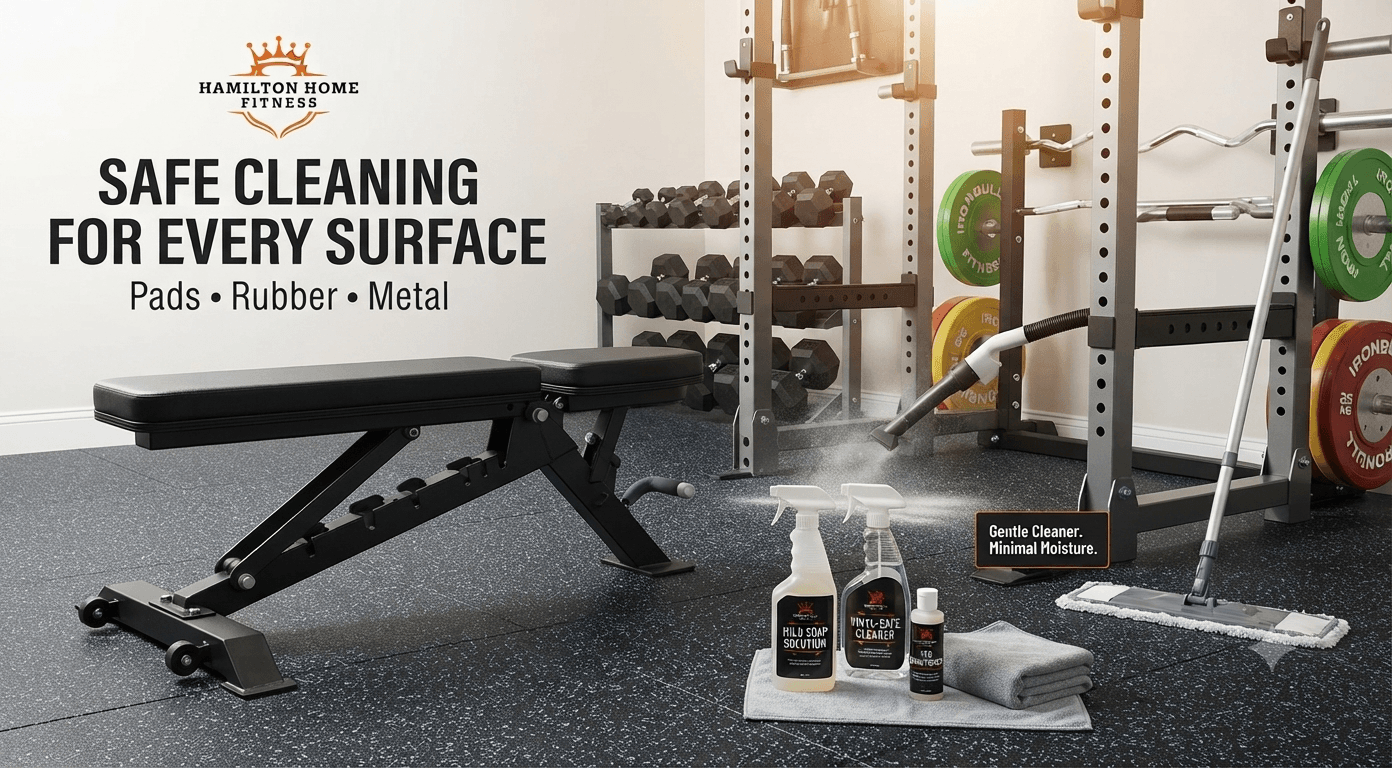
Here's the short version you can keep by the door:
Surface | Use | Avoid |
Vinyl / leather pads | Mild soap or vinyl-safe cleaner; condition monthly | Harsh solvents, bleach, heavy alcohol |
Rubber flooring / stall mats | pH-neutral cleaner, damp mop, warm water | Bleach, ammonia, solvents, over-wetting, steam |
Metal frames | Mild soap, soft cloth | Abrasive pads, bleach, scouring |
The pattern across all three: gentle cleaner, minimal moisture, and no harsh chemicals that break materials down over time.
Vinyl and leather bench pads
Clean vinyl and leather pads with mild soap or a vinyl-safe cleaner, dry them fully, and condition monthly to prevent cracking.
Pads are the easiest surface to ruin with the wrong habit. Harsh solvents and strong alcohol strip the material, dry it out, and leave it brittle until it cracks along the seams. Skip those and use a mild soap solution instead, then wipe the pad dry—never let sweat sit in the stitching. Spray the cloth, not the pad, and keep the cleaner away from the bench's hinges and pop-pins. A quick monthly conditioning keeps the surface supple.
If a pad ever feels slick, that's usually residue buildup, not wear—clean it more thoroughly before assuming it's done. When a pad truly wears out, it's a fast fix on most weight benches.
Rubber flooring and stall mats
Damp-mop rubber flooring with a pH-neutral cleaner — never soak it, and never use solvents or bleach that break rubber down.
A pH-neutral cleaner is one that's neither acidic nor alkaline, which matters because both extremes attack the rubber compound and cause cracking or discoloration. Sweep or vacuum first so grit doesn't grind into the surface, then damp-mop with warm water—damp, not wet. The reason to keep water low is simple: it seeps into seams and under mats, where it breeds mold and lifts adhesive. Skip bleach, ammonia, and oil-based cleaners like Pine-Sol or WD-40, and don't steam-clean, since heat warps rubber. Let it air dry before you train.
For rubber gym flooring and horse-stall mats alike, the same gentle routine keeps the surface safe and slip-resistant.
Metal frames and chalk cleanup
Wipe powder-coated and painted frames with mild soap, and vacuum chalk dust before wiping so it doesn't grind into finishes and seams.
Frames are low-maintenance—a soft cloth and mild soap handle them, and abrasive pads or bleach only scratch and dull the coating. Chalk is the part people underestimate. Vacuum it first, because wet chalk smears into a paste that settles into knurling, seams, and finishes. It doesn't stop at the frame either: fine chalk dust drifts into HVAC and mini split filters and clogs them, so a cleaner filter and regular vacuuming keep both the room and the air in better shape.
The cleanest fix is to cut the dust at the source. Swapping loose chalk for a chalk alternative that reduces dust means less rust on your bars, less grime on your frames, and far less to clean up.
Year-Round Care and Warranty Protection
Your routine shifts with the seasons. In humid summers, lean on dehumidification and a wipe-down after every session. In cold winters, prevent condensation and flash rust when you heat a cold space. Adjust by region—humid Southeast, dry Southwest, snowy North, and rainy Northwest—and keep records because skipped lubrication or the wrong products can void equipment warranties.
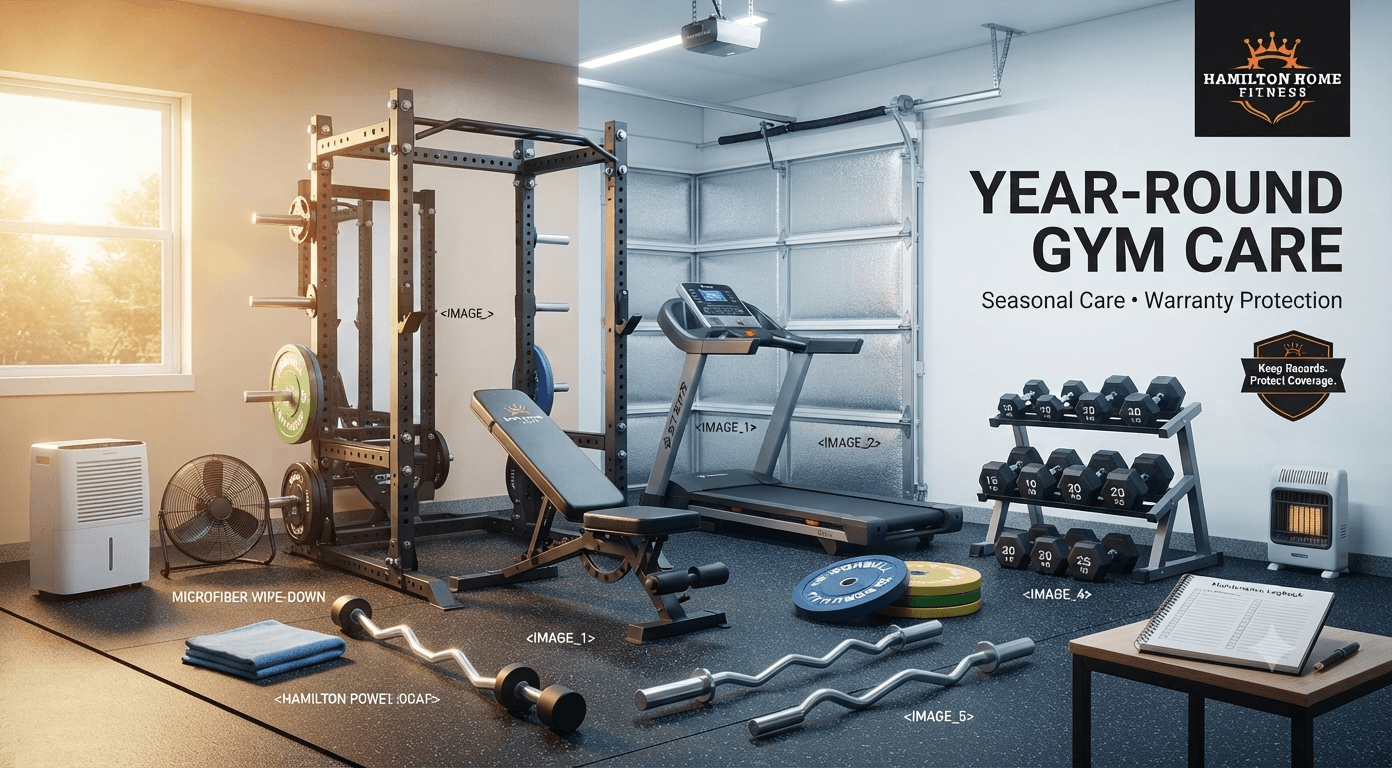
Get these last pieces right, and the whole system holds up through the calendar, not just the easy months.
Winterize and summerize your space
Heating a freezing garage too fast causes condensation and flash rust, so warm the space gradually and keep humidity in check.
Here's the winter trap. Steel that's been sitting in a cold garage—what's often called a "cold soak"—is well below room temperature. Blast it with warm, humid heat, and moisture condenses on every bar and plate almost instantly, triggering flash rust, the fast surface rust that shows up in hours. So bring the heat up slowly and keep a dehumidifier or good airflow running while the room warms. If you store gear for the off-season, oil the bare metal first and keep it off the concrete.
Summer flips the priority to moisture. Humid months are when dehumidification and after-session wipe-downs matter most, since sweat and damp air are both at their peak.
Adjust for your region
Your climate sets your priority: humidity control in the Southeast, dust and dryness care in the Southwest, and cold and condensation in the North.
Humid Southeast: Dehumidify aggressively and wipe gear down every session — this is the hardest climate on steel.
Dry Southwest: Rust risk is low, but heat and dust are the enemies, so vacuum often and keep machines cool.
Cold / snowy north: Fight winter condensation and flash rust by warming the space gradually.
Rainy Pacific Northwest: Persistent damp calls for steady, year-round dehumidification and airflow.
Some places demand both playbooks. A Tennessee garage bakes in humid summer heat and drops into cold, condensation-prone winters, so owners here run the summer and winter routines in turn. HHF ships nationwide and knows these swings firsthand as a Tennessee-based equipment supplier.
How maintenance protects your warranty
Many warranties require basic maintenance, and skipping treadmill lubrication or using the wrong cleaners can void coverage—so keep records and follow the manual.
This is the part that costs real money if you ignore it. Plenty of cardio warranties specifically require regular lubrication with an approved product, and neglect—or using WD-40 instead of silicone—can be grounds to deny a claim. The same logic applies to harsh cleaners that degrade a finish. Two habits protect you: follow each machine's manual, and keep a simple record of what you did and when.
Terms vary by brand, so check your specific warranty rather than assuming. As an authorized dealer across more than 40 brands, HHF can help you sort out what your coverage actually requires — reach out for warranty-friendly maintenance guidance on your equipment.
FAQ
Can I use WD-40 on my barbell or my treadmill?
On a bare-steel bar, yes — WD-40 works to loosen rust. Wipe it off afterward and apply a light protective oil, since WD-40 cleans but doesn't protect. Never use it on a treadmill belt or deck. Only 100% silicone treadmill lubricant is safe there; petroleum products break the belt down and can void the warranty.
Is a mini split or a dehumidifier better for a humid garage gym?
A dehumidifier is cheaper and targets moisture directly, which is often all you need to protect your gear. A mini split costs more but cools and dehumidifies in summer and adds heat in winter. Many owners in humid climates run a dehumidifier and add a mini-split later for comfort—the two work well together.
Does skipping treadmill lubrication void the warranty?
It can. Many treadmill warranties require regular lubrication with an approved 100% silicone product, and neglect or the wrong lubricant can be grounds to deny a claim. Check your model's manual for the exact interval, use only the recommended product, and keep a simple record of each service.
How do I get rid of gym smell in a closed garage?
Improve airflow first — poor ventilation is the real cause. Then use an enzyme cleaner on rubber flooring to break down the sweat and bacteria trapped in it and a baking-soda treatment to neutralize odor. If you use an ozone treatment, run it only in an empty, well-ventilated room, since ozone irritates the lungs.
Should I store barbells and plates off the floor?
Yes. Bare concrete wicks moisture and encourages condensation, so metal left on it rusts faster. Store bars on a rack and keep plates on pegs or stands so air can move around them and they stay dry. It's a small habit that removes one of the most common rust sources in a garage gym.
Final Thought
A garage gym in a humid or extreme climate stays rust-free and lasts for years when you run one simple system. Wipe and dry after every session. Brush and oil on schedule. Lubricate cardio the right way. Hold humidity near 40–50%. Clean each surface with the product it actually needs, and adjust for your season and region.
None of it takes much time—a few minutes after each workout and a little more once a month are enough to protect thousands of dollars in equipment. The owners whose gear still looks new after five years aren't lucky. They just kept up with the small stuff.
Start by saving the printable monthly and yearly maintenance checklist so the routine runs itself. And when it's time to protect, replace, or expand your setup, reach out to Hamilton Home Fitness for warranty-friendly, brand-specific guidance from a dealer who works across more than 40 brands and ships nationwide.