Introduction
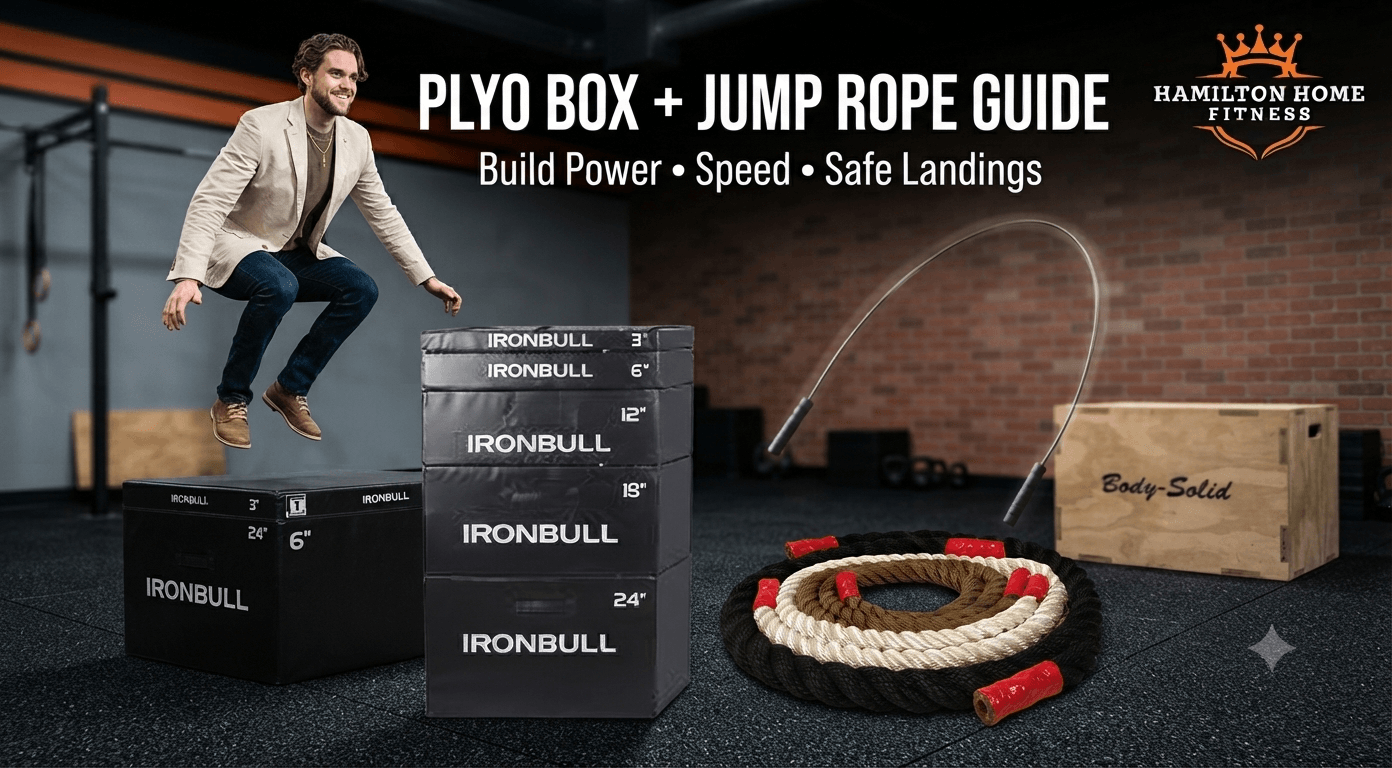
You want to add power and speed — for CrossFit, the court, the field, hybrid training, or a young athlete training at home. Two choices usually stall you: which plyo box to get (soft foam, wood, or a 3-in-1), and a jump rope you won't trip over every third rep.
This plyometric training equipment guide sorts both out. You'll learn how to pick the right box format and height, size and choose a rope, match your gear to your sport and goal, and follow a progression that builds explosive power without wrecking your knees, ankles, and shins.
Where a specific box, rope, or floor earns its place, it's here — as an option, not a sales pitch.
What plyo gear do you actually need?
For most people, plyometric training needs just two core tools: one plyo box and one properly sized jump rope, set up on a shock-absorbing floor. A soft foam box or a 3-in-1 is the easiest place to start. Hurdles, cones, and agility ladders are useful add-ons, not requirements.
The box and rope cover most power and speed work between them: the box trains vertical force through jumps, and the rope builds reactive foot speed and conditioning.
Essential: one plyo box, one properly sized jump rope, and a shock-absorbing floor to land on.
Optional: hurdles, agility ladders, and cones — useful for footwork and sprint drills, but skippable until the basics are dialed in.
Start with the box and rope. The rest of this guide shows you how to choose each one for your body, your sport, and your space.
Soft foam vs wood vs 3-in-1 boxes
Soft foam boxes are the safest pick for beginners and high-rep jumps, because the edges compress on a missed landing and spare your shins. Wood boxes give a firmer, more stable base that confident jumpers prefer. A 3-in-1 box stacks three heights into one, which suits tight home gyms.
Format | Best for | Landing feel | Watch-outs |
Soft foam | Beginners, high-rep jumps, youth | Soft; edges give on a miss | Can feel less stable for tall, max-height jumps |
Wood | Confident jumpers who want a firm base | Firm and solid, no give | Unforgiving on a missed rep; usually one fixed height |
3-in-1 / adjustable | Tight spaces; one box that scales heights | Depends on material (foam or wood) | You rotate the box to change height; check it's stable at the tallest setting |
Soft foam is the forgiving choice while you're still learning to land. Miss a jump on foam and you bruise your pride; miss it on bare wood and you bruise your shins. That cushion matters most for beginners, younger athletes, and anyone grinding out high-rep conditioning. The trade-off: on a very tall jump, a soft box can feel a little less planted underfoot. On the site, the Body-Solid soft plyo box is a good fit if you want that softer landing.
Wood rewards confidence. It gives you a rock-solid, stable platform for box jumps, step-ups, and heavier work, with no bounce or sink. But it's the wrong first box for a nervous jumper, since a mistimed rep meets a hard edge. The Body-Solid wood plyo box is a solid pick once your landings are dependable.
A 3-in-1 is the space-saver. One box, three heights — you simply rotate it to change the level, which is ideal if you can't store several boxes. It comes both ways: wood, like the York 3-in-1 and the Tag Fitness 3-Way, or foam if you'd rather keep the softer landing. Just confirm it feels steady in its tallest orientation before you jump.
Not sure which way to go? You can compare foam, wood, and 3-in-1 plyo boxes side by side and match the format to your level.
What plyo box height should you use?
Pick a height you can land softly and in control for 15 to 20 reps — not the tallest box you can reach. Most beginners start near 12 inches. Intermediate jumpers work in the 16 to 20 inch range. Advanced athletes move to 24 inches and up, but only as their landings stay clean.
The rule that keeps you healthy is simple: choose height by how well you land, not by how high you want to jump. A box you can't land quietly is too tall, whatever the number says. Height chases ego; clean landings build power.
Level or exercise | Suggested height | Why |
Beginner | ~12 in | Builds landing control and confidence with low risk |
Intermediate | 16–20 in | Adds challenge once landings are consistent |
Advanced | 24 in and up | Higher force demand, only with dependable mechanics |
Step-ups | 12–18 in | Controlled, low-impact strength and balance work |
Box jumps | 18–24 in | The standard working range for most athletes |
Depth / drop jumps | Up to 30 in | Advanced reactive work; earn it before you try it |
Notice the ranges overlap. That's on purpose — your right height depends on your leg length, your training age, and the exact movement, not a single magic number. Use the ranges as a starting point, then let the quality of your landing tell you when to go up.
If you're not sure which height to buy, an adjustable plyo box that covers several heights lets one box grow with you instead of guessing and buying twice.
Jump rope length, speed vs weighted
As a starting point, pick a rope about 3 feet longer than your height. To check the fit, stand on the middle of the rope and pull the handles straight up — the cable should reach somewhere between your armpit and your sternum. As your skill improves, shorten it for faster, cleaner rotations.
That height-plus-3-feet rule gets you close, but the real test is how much room the rope leaves above your head as it passes over while you jump. Less clearance means faster rotations; more clearance gives you room to make small timing errors without catching your feet.
A double-under, by the way, just means the rope passes twice under your feet in a single jump — a common goal that needs a shorter, faster rope.
Jump style | Overhead clearance | Feel |
Speed / double-unders | 4–8 in | Tight and fast; little room for error |
General fitness | 10–18 in | Forgiving; easier to keep a rhythm |
Freestyle / tricks | 6–14 in | Control with a little leeway for arm movement |
The most common beginner mistake is keeping a rope that's too long. It feels safe, but the extra slack drags on the floor, slows your cadence, and catches your feet — so you blame yourself when the real problem is the length. When in doubt, size down a little at a time.
Once you know your length, browse the jump rope options and pick the type that matches how you train.
Speed rope vs weighted rope
A speed rope is thin, light, and spins fast on ball-bearing handles, which suits double-unders and footwork; a weighted rope moves slower and adds shoulder and forearm work, which suits conditioning and learning rhythm.
A speed rope is built for turnover. The thin PVC or cable line and low-friction bearings let the rope whip around fast, which is what you want for double-unders, criss-cross, and quick footwork drills. The trade-off is honesty about your timing: a fast, light rope is less forgiving while you're still learning the rhythm, so misses come quicker.
A weighted rope does the opposite. The added weight in the cable or handles slows each rotation and gives you clear feedback — you can feel where the rope is, which helps you groove a steady cadence and improve coordination. That extra load also works your shoulders and forearms, making it a good pick for conditioning and fat-loss intervals. Go too heavy too soon, though, and your arms fatigue before your legs do.
On the site, the York PVC rope is a light, trimmable rope that works well for beginners and footwork, and a weighted jump rope from Pacific Fibre fits conditioning and rhythm work. One honest note: HHF doesn't currently stock a dedicated ball-bearing competition speed rope, so if pure double-under speed is your only goal, start with the closest fit above or ask the team which rope suits you — rather than expecting a race-tuned speed cable in the current lineup.
Vertical, sprint speed, and fat loss
For vertical jump, prioritize box jumps and depth jumps paired with strength work. For sprint speed, use broad jumps, bounding, and short ground-contact drills. For fat loss and conditioning, lean on jump rope intervals. Box jumps build power and some leg muscle, but strength training drives most of the muscle growth.
Goal | Primary tool | Key movement |
Vertical jump | Plyo box | Box jumps and depth jumps, alongside squats and other strength work |
Sprint speed | Floor / open space | Broad jumps, bounding, short ground-contact hops |
Fat loss / conditioning | Jump rope | Interval skipping, including weighted-rope work |
For vertical jump, the box is your main tool. Box jumps teach your legs to produce force fast, and depth jumps train the quick, springy rebound that carries into a real jump. But plyometrics work best on top of a strength base — jumping alone won't do it. Pair your box work with squats and lower-body strength training, and expect steady gains over months, not overnight inches.
For sprint speed, you need horizontal power, not just up-and-down. Broad jumps and bounding push force into the ground behind you, and short ground-contact drills train your legs to react and reload quickly — the same quality that separates a fast first step from a slow one. A box supports this, but the real work happens across the floor.
For fat loss and conditioning, the jump rope earns its place. Interval skipping raises your heart rate fast and keeps it there, and a weighted rope adds shoulder and arm work while it burns. It's low-cost, portable, and hard to cheat. Just remember a weighted rope moves slower than a speed rope, so it's built for conditioning, not for chasing your fastest double-unders.
Two honest points worth keeping straight. Plyometrics can absolutely raise your vertical, but as part of a program with strength work — not as a magic fix on its own. And box jumps build power and some muscle in your quads and glutes, yet if size is the goal, dedicated strength training will always do more.
Plyo box and rope by sport
Court and jump athletes like basketball and volleyball players prioritize box jumps and depth jumps for vertical. Field athletes like football players add broad jumps, bounding, and sled work for sprint power. CrossFit athletes need a stable 3-in-1 box and an efficient rope for double-unders. Rotational athletes — baseball, tennis, golf — train lateral and single-leg jumps.
Sport / athlete | Main goal | Box focus and height | Rope focus |
Basketball | Vertical, repeat jumps | Box + depth jumps, 18–24 in | Efficient rope for conditioning |
Volleyball | Approach-jump height | Box + depth jumps, 18–24 in | Footwork and conditioning |
Football | Sprint power, first step | Broad jumps + bounding; box 18–24 in | Conditioning between drills |
CrossFit | Double-unders, mixed work | Stable 3-in-1, 20–24 in | Fast rope sized short for double-unders |
Rotational (baseball, tennis, golf) | Lateral and single-leg power | Lateral step-overs, single-leg jumps, 12–18 in | Footwork and coordination |
A volleyball blocker, for example, cares most about approach-jump height, so depth jumps and controlled box jumps in the 18 to 24 inch range train the exact spring they need at the net. A CrossFit athlete has a different priority: dependable double-unders. That means a stable 3-in-1 box for the strength side and a shorter, faster rope so the cable clears cleanly rep after rep.
Field and rotational athletes get a second gear from horizontal power. That's where sled push and pull work fits alongside the box — driving force into the ground to build the first-step speed that box jumps alone don't fully cover.
Program plyos without wrecking joints
Start with 1 to 2 plyometric sessions a week, and treat quality over quantity — stop a set the moment your landings get sloppy. Beginners build landing mechanics on low boxes first, then add height and intensity gradually. Rest matters, because plyometrics tax your nervous system and connective tissue as much as your muscles.
That last point is the one most people miss. Plyometrics feel like cardio, but the strain lands on your tendons, joints, and nervous system — the tissues that recover slowly. Two sharp sessions a week beat five sloppy ones. If your jumps lose their pop or your landings turn heavy, you're done for the day, not "pushing through."
The most common way people hurt themselves isn't a tall box — it's jumping down from one before they've earned it. Depth and drop jumps are advanced. They belong at the end of a progression, not the start.
A quick, honest note: this is general guidance, not medical advice. If you've had knee, ankle, or Achilles problems — or you're a younger or older athlete adding impact work — check with a qualified coach or health professional before you start. Plyometrics reward patience, not shortcuts.
A safe beginner plyo progression
Earn each stage before the next: master a soft two-foot landing, then step-ups, then low box jumps, then add height, and only then attempt depth or drop jumps.
Land first. Before you jump onto anything, practice landing — hop a few inches and absorb it softly, knees bending, quiet feet. If you can't land quietly, you're not ready to jump higher.
Step-ups. Step onto a low box (around 12 inches) and down, building strength and balance with almost no impact.
Low box jumps. Add a two-foot jump onto a low box you can land in full control. Step down — don't jump down — to protect your knees.
Add height. Once landings stay clean and quiet for 15 to 20 reps, move up one height step, not several.
Depth and drop jumps. Only after the stages above feel solid, add reactive work like depth jumps — the most demanding movement, saved for last.
The whole point is that each stage buys you the right to the next. Rush it and your shins, ankles, and knees pay the bill. Move through it patiently and you build real, durable power. For a closer look at landing and box-jump technique, work the form details before you push the height.
Floor and ceiling space for jumps
Land on a shock-absorbing rubber floor to protect your joints and your subfloor, and use turf for sleds and bounding. For rope work, measure your overhead reach and add roughly 20 to 24 inches of clearance for double-unders. Many jumpers find a 9 to 10 foot ceiling comfortable, so a low basement can be a problem.
Where you train decides what you can safely do — so check the room before you buy the gear. Three things matter:
Floor. Repeated landings need give. A shock-absorbing rubber floor cushions your ankles and knees, quiets the noise, and protects the surface underneath from box edges and dropped weights. Bare concrete does none of that.
Turf. If you're pushing a sled or bounding, add a turf lane. GRYTFIT turf and tiles give you a durable surface built for dragging, driving, and lateral work that rubber alone isn't made for.
Landing zone. Leave clear space around and in front of the box, so you have room to land and step off without clipping a wall, a rack, or a bench.
Delivery is the last practical piece. Boxes and flooring ship across the country, so how nationwide shipping works is worth a quick look before you order, especially for the heavier flooring.
Ceiling clearance for double-unders
Stand tall, reach one arm overhead, and add about 20 to 24 inches — that's the minimum ceiling clearance you want for comfortable double-unders.
Rope work needs more vertical room than people expect, because the cable arcs above your head on every pass. A single-under is forgiving. A double-under isn't — the rope travels higher and faster, and a low ceiling forces you to hunch or clip the rope, which wrecks your rhythm.
Treat 20 to 24 inches above your raised hand as a rule of thumb, not a hard spec. If you're tall or your basement is finished low, measure first — it's cheaper than finding out mid-workout.
FAQ
What plyo box height should I start with for my body weight, age, and sport?
Start with a height you can land softly for 15 to 20 reps — usually about 12 inches for most beginners. Heavier and taller athletes, and youth athletes, should stay conservative and prioritize clean, quiet landings over height, and only move up as their mechanics hold.
Are soft foam plyo boxes safer than wooden boxes for box jumps?
Generally yes, for beginners and high-rep work. Foam edges compress on a missed jump and cut down on shin injuries, while wood is firmer and less forgiving. Confident jumpers often prefer the stable base of wood or a 3-in-1.
How do I size a speed rope, weighted rope, or beaded rope correctly?
Start at your height plus about 3 feet, then stand on the middle of the rope and pull the handles up to armpit or sternum height. Use less overhead clearance (4 to 8 inches) for speed ropes and double-unders, and slightly more length for heavier beaded or weighted ropes to keep a clean arc.
How should plyometric volume and frequency be programmed to avoid injury?
Begin with 1 to 2 sessions a week, keep your reps crisp, and stop when landings degrade. Build landing skill on low boxes before adding height, and rest enough for your nervous system and connective tissue to recover.
Which plyometric tools build vertical jump versus sprint speed?
Box jumps and depth jumps, paired with strength work, drive vertical. Broad jumps, bounding, and short ground-contact drills drive sprint speed. Jump rope supports both by building reactive lower-leg stiffness and conditioning.
What flooring and ceiling clearance do I need for jumps, double-unders, and bounding?
Use shock-absorbing rubber flooring for landings and turf for sleds and bounding. For double-unders, allow roughly 20 to 24 inches above your overhead reach. Many jumpers find a 9 to 10 foot ceiling comfortable, so measure a low basement first.
Final Thought
Get the format and height right, size your rope to your body, and progress patiently — that's how you build real power and speed without trashing your knees, ankles, and shins. The gear only works when it fits you and your space.
Hamilton Home Fitness is where you can put it together: plyo boxes in every format and height, ropes for footwork or conditioning, and the flooring to land on. Still weighing options? Ask our team for a setup recommendation and we'll help you match the right box height and rope to your sport.