Introduction
You just stopped paying for a gym membership and want a real plan before spending $500 or $5,000 on the wrong first machine. This guide gives you the exact purchase order, the space rules for your room, three honest budget tiers, and the brand-quality checks that separate a 10-year setup from a 2-year regret.
Everything here is built around one promise: by the end, you will know what to buy first, how much space and money you actually need, and which tier matches your goal. Hamilton Home Fitness ships nationwide from Tennessee and offers a free design consultation when you want a second set of eyes—but you'll have a dependable plan in hand long before that point.
Plan Your Space, Goals, and Budget First
Before you buy anything, measure the room, name one primary training goal, and set a hard budget. Those three inputs decide every later choice—rack size, plate count, cardio piece, and even flooring. Skip this step and you'll either return equipment or train around it for years.
Square footage by setup level
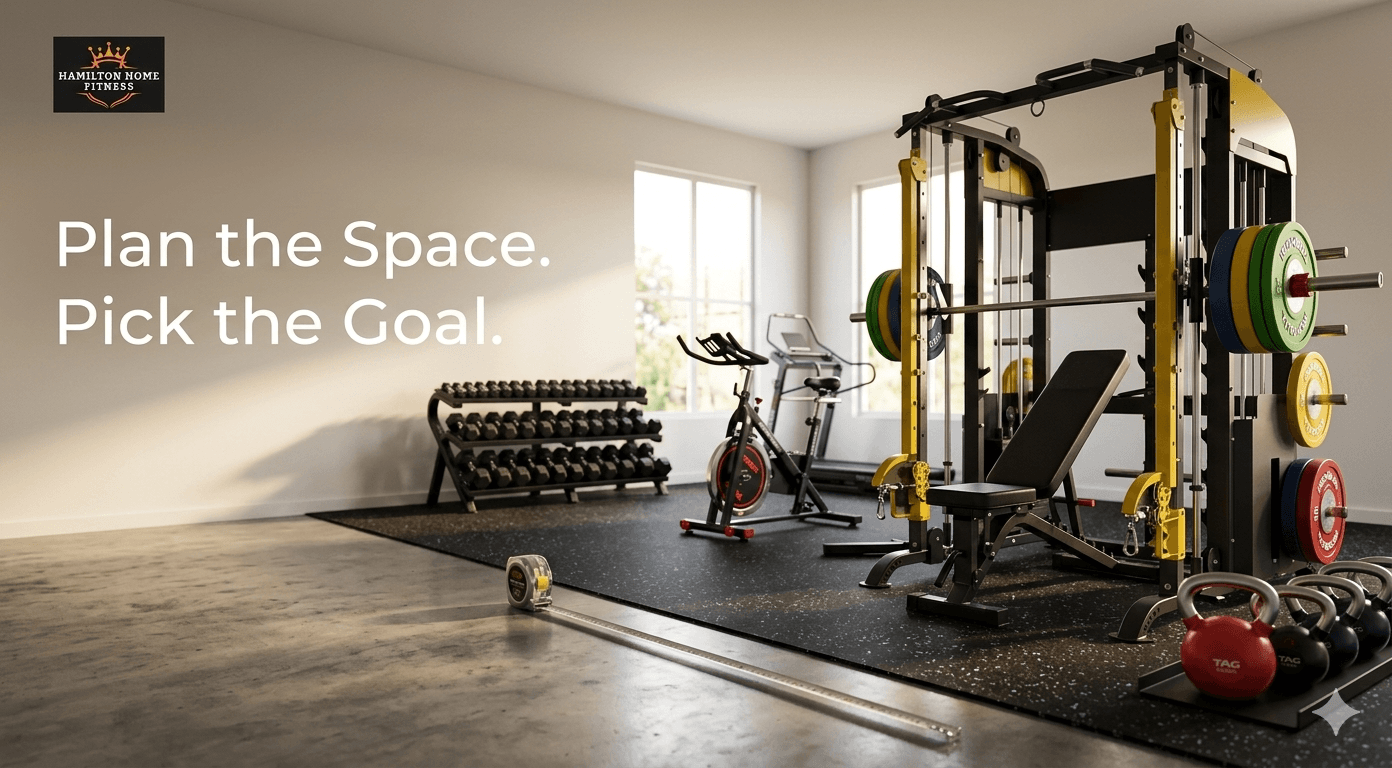
A basic home gym needs about 50–80 sq ft, an intermediate strength setup needs 100–150 sq ft, and a full setup with cardio needs 200–300+ sq ft. Add at least 2 ft of clearance on each side of any rack or bench so loading plates and walking out with the bar is safe.
Setup Level | Floor Space | What Fits |
Basic | 50–80 sq ft | Adjustable dumbbells, bench, bands, pull-up bar |
Intermediate | 100–150 sq ft | Power rack, barbell, plates, bench |
Full strength + cardio | 200–300+ sq ft | Rack, platform, dumbbells, one cardio piece |
Multi-zone complete | 300+ sq ft | All of the above plus cable or functional trainer |
Measure the usable area, not the room's total square footage. Subtract space taken by water heaters, support columns, doors swinging in, and any zone the car still uses in a shared garage.
Ceiling clearance by movement
Most full power racks stand 82–93 inches tall; pull-ups need 9–10 ft of total ceiling height for a clean rep, and standing overhead pressing needs roughly 9 ft for an average adult. Measure to the lowest point in your ceiling—beams, ductwork, and garage door tracks routinely cut several inches off the number you assumed.
Movement | Minimum Ceiling | Notes |
Floor-based training, dumbbells | 7.5 ft | Almost any room works |
Squat inside a short rack | 8 ft | Use a shorter rack (78–80 in.). |
Standing overhead press | 9 ft | Add a few inches if you're over 6 ft tall |
Pull-ups (full hang) | 9–10 ft | The bar needs 10–18 in of clearance above it. |
Olympic lifts overhead | 10+ ft | Snatch and jerk demand the most |
If your room is under 8 ft, you're not locked out—a wall-mounted folding rack, a Smith machine, or seated overhead variations all keep you training without the ceiling fight.
Pick one primary training goal
Choose one of four primary goals before buying: strength, muscle gain, weight loss, or general fitness. Your goal decides what gets bought first and what waits.
Strength → rack, barbell, plates, and bench come first; cardio is optional.
Muscle gain → rack and adjustable dumbbells; bench and cable attachment matter early.
Weight loss → one cardio piece plus dumbbells covers most of the work; rack is later.
General fitness → adjustable dumbbells, a bench, bands, and a compact cardio piece beat a heavy rack you'll rarely load.
Trying to serve all four goals at once is the most common reason beginners overspend. Pick one for the next 12 months, build for it, then expand.
Prepare the Environment Before Buying Equipment
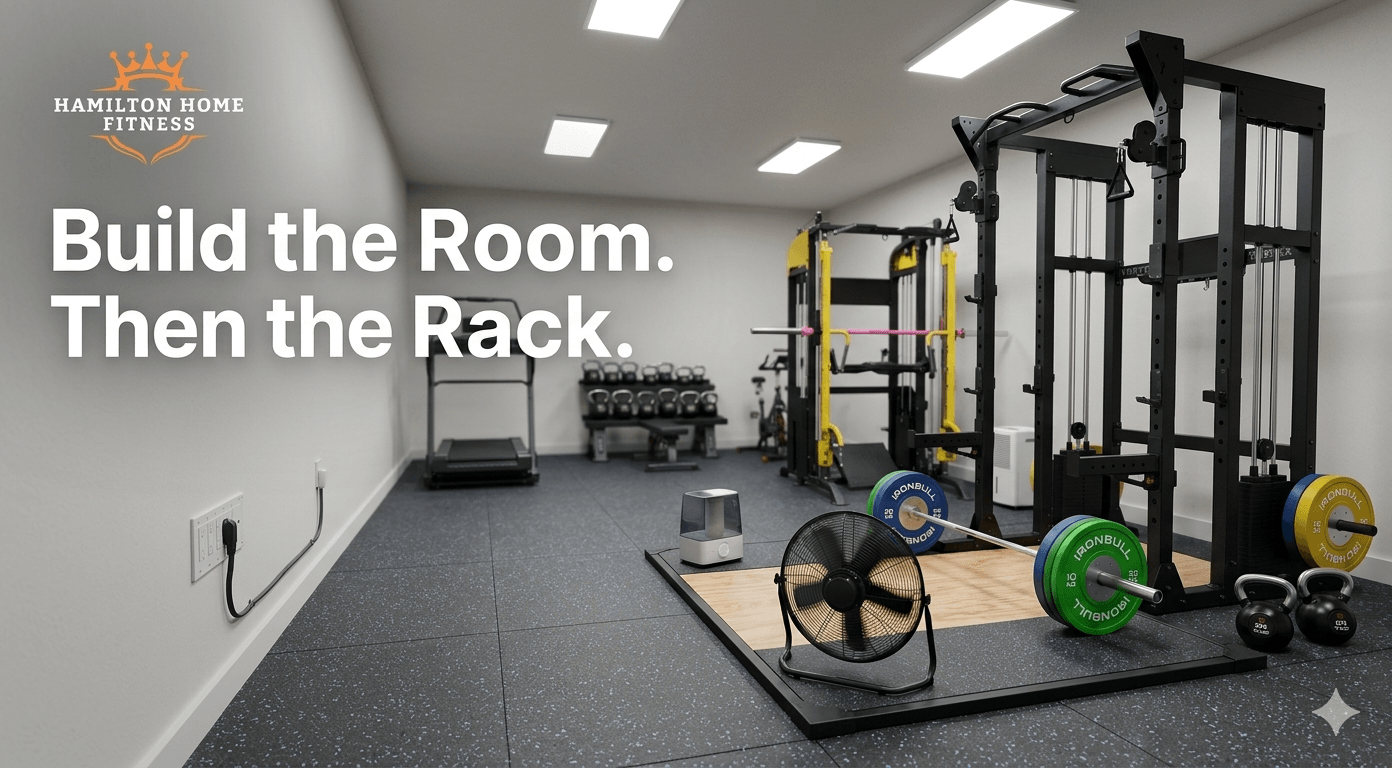
Buy your flooring and fix your electrical, ventilation, and lighting before any equipment ships. Retrofitting around a 600-lb loaded rack is far harder than prepping an empty room, and the cost of doing it later is almost always higher than doing it now.
Flooring options ranked by use case
Horse stall mats are the best value for heavy free-weight gyms; rubber gym tiles win for finished rooms; and a plywood-rubber deadlift platform protects everything underneath when pulling heavy. Match the floor to the lifts you'll actually do—not to what looks best in photos.
Horse stall mats (3/4 in rubber): Cheapest per square foot, near-indestructible, ideal for garages. Heavy and have a break-in smell for the first weeks.
Rubber gym tiles (8–10 mm): Cleaner look, modular, easy to install in bedrooms and basements. It costs more per square foot than stall mats.
Plywood-rubber deadlift platform: Two sheets of 3/4 in plywood under a center rubber strip, framed by stall mat halves. Protects the floor under heavy pulls and gives the barbell a quieter landing.
Foam tiles: Fine for yoga, bodyweight, and dumbbell work only. Will compress and tear under a loaded rack.
Pair the right floor with rubber bumper plates for quieter lifting — the floor and the plates work as a single noise-and-impact system, and getting one right while ignoring the other still leaves you with complaints from upstairs or cracks in the concrete.
Electrical, lighting, and ventilation basics
Plan a dedicated 20-amp circuit for cardio, two outlets per equipment zone, 50–75 footcandles of light, and active airflow even in a basement or garage. These are the four utilities a home gym actually needs — everything else is comfort.
Electrical: Treadmills, rowers with screens, and air bikes with consoles pull more current than a typical bedroom circuit handles comfortably. Run a dedicated 20-amp line for any motorized cardio. Add at least two outlets near the rack for fans, chargers, and a sound system.
Lighting: LED shop lights or 4 ft panel lights in the 4000–5000K range keep the space alert and shadow-free. Aim for 50–75 foot-candles at floor level. Avoid single overhead bulbs that leave the rack interior dark.
Ventilation: A high-velocity floor fan plus a window or vent fan is the cheapest setup that actually works. Garages and basements without outside air get stale fast, which kills training quality and accelerates rust on bars and cables.
Sketch the outlet and fan positions before any equipment arrives. Running an extension cord across the gym floor in front of a rack is both a tripping hazard and a constant reminder you skipped the planning step.
Climate, humidity, and sound control
Garages and basements need dehumidification below 60% relative humidity to protect steel and cables, and 8–10 mm rubber under racks plus closed-cell foam on shared walls cuts most barbell-drop noise. Both are bigger issues in the Southeast US than buyers expect.
Humidity: Knurled bars rust, cable systems degrade, and bench upholstery breaks down faster above 60% RH. A standard 50-pint dehumidifier handles most garages and basements through Tennessee summers.
Garage temperature: Insulate the garage door — it's the single largest heat-and-cold loss point. Foam board panels cut both summer heat soak and winter chill at low cost.
Sound for neighbors and family: Layered rubber under the rack absorbs the worst of bumper drops. For shared walls (apartments and attached townhouses), closed-cell foam panels or fabric-wrapped insulation panels reduce mid-range frequencies that travel through drywall.
Lift smarter, not louder: If barbell drops aren't an option, set safety arms slightly above your usual squat depth and lower the bar onto them instead of dropping it.
The goal isn't a silent gym — it's a gym that doesn't generate complaints, structural wear, or rust on your investment.
The Right Equipment Purchase Order
For a free-weight home gym, buy in this order: power rack → barbell → weight plates → adjustable bench → flooring (if not already present) → safety arms and pull-up bar → adjustable dumbbells → optional cardio → cable or functional trainer. This sequence maximizes training value per dollar at every stage and keeps you from owning gear you can't fully use yet.
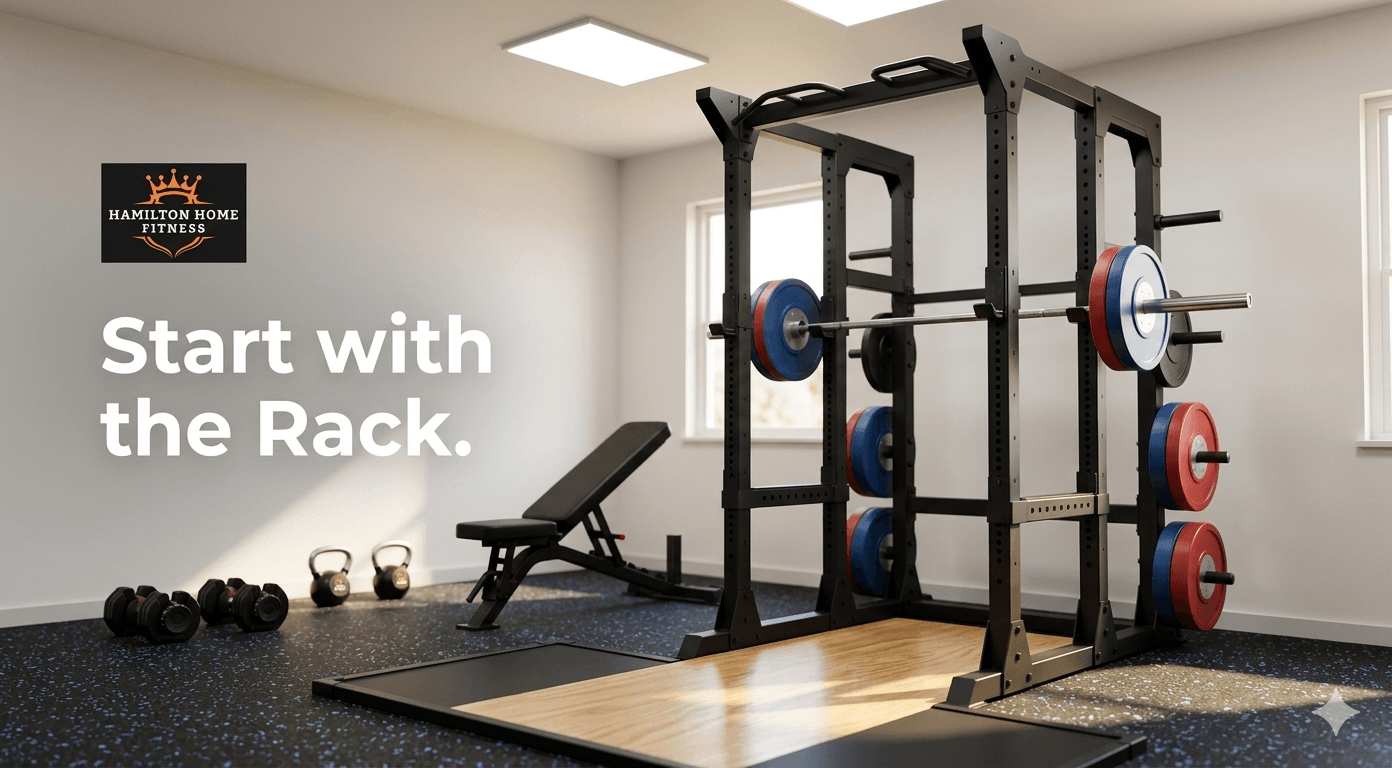
The logic behind the order is simple: each item unlocks the next. A rack is useless without a barbell. A barbell is useless without plates. Plates are uncomfortable without a bench. Cardio and cables only earn space after the strength foundation is in.
Why the rack comes first
A power rack is the first purchase because it lets one person train safely with heavy loads on the four lifts that drive most results—squat, bench, overhead press, and pull-up. No other single piece covers as many movements or replaces as many machines.
Pick the rack style by space:
Full power cage — best for garages with 9+ ft ceilings. Maximum safety, room for attachments, and holding value long-term.
Half rack — good middle ground for tighter rooms. Slightly less internal space but easier to walk around.
Wall-mounted folding rack — best for spare bedrooms and basements with low ceilings. Folds flat against the wall between sessions.
Squat stand — cheapest entry point. Skip it if you'll ever train alone with heavy loads—most have no safety arms.
Whichever style you choose, prioritize 11-gauge or thicker steel, a weight capacity of at least 700 lbs, and safety arms or pin-pipe safeties rated for the same load. Browse power racks and cages to compare options sized for residential ceilings.
Barbell, plates, and bench order
Buy the Olympic barbell next, then plates sized to your real lifts, then an adjustable FID bench. Those three turn the rack into a full-strength station and cover the bulk of what most home lifters will ever do.
Barbell: A 20 kg (45 lb) Olympic bar for most adults, or a 15 kg women's barbell for smaller frames. Look for a tensile strength of 150,000 PSI or higher and a knurl that grips without shredding hands.
Plates: Start with enough to cover your current working weights plus one progression cycle—typically 230 lbs for beginners and 300+ lbs once squats and deadlifts get serious. Use bumper plates if you'll drop the bar; use iron plates if you won't and want to save money.
Adjustable FID bench: Flat, incline, and decline positions in one piece. Skip the dedicated flat-only bench unless space is extremely tight—the upgrade to adjustable pays back fast on incline presses, rows, and shoulder work.
Buying plates beyond your real working weights on day one is the most common overspend. You can always add more. Shop barbells, plates, and free weights when you're ready to lock in the trio.
Adjustable dumbbells and accessories
Adjustable dumbbells replace a full rack of pairs in roughly 4 sq ft, and they belong after the barbell setup because they extend training, not anchor it. One quality pair covers 5–80 lb in seconds, replacing 15+ fixed pairs.
For accessories, add only what your current training actually demands:
Kettlebell or two—useful for swings, goblet squats, and carries.
Resistance bands — cheap, packable, useful for warm-ups and assistance work.
Ab wheel — small footprint, real core work.
Pull-up bar attachment — usually built into the rack.
NÜOBELL adjustable dumbbells for home use are widely used in serious home setups because the dial-style adjustment and standard dumbbell shape make them feel like fixed pairs while taking a fraction of the space.
Bare minimum vs trainer-first buys
The bare minimum home gym is a rack, a barbell, plates, and a bench. Experienced trainers usually add safety arms, a pull-up bar, and adjustable dumbbells before anything else — those three items multiply what the core four pieces can do without taking new floor space.
What trainers consistently skip on a first build:
Heavy cardio machines before the strength setup is complete.
Specialty single-purpose machines (preacher curl, dedicated leg curl).
Smart mirrors and app-bundled equipment with monthly fees.
Cheap budget racks that need replacing inside two years.
The most-used piece in a typical home gym is the rack itself—every major lift either happens inside it or starts there. The barbell and bench tie for second. Everything else is a supporting cast.
Home Gym Budget Tiers That Work
Expect roughly $500–$1,000 for a starter build, $1,500–$2,500 for a real strength setup, $3,000–$5,000 for a complete build with cardio, and $5,000+ for a commercial-grade or all-in-one tier. These ranges reflect quality gear from authorized dealers—not the cheapest marketplace listings that fail inside two years.
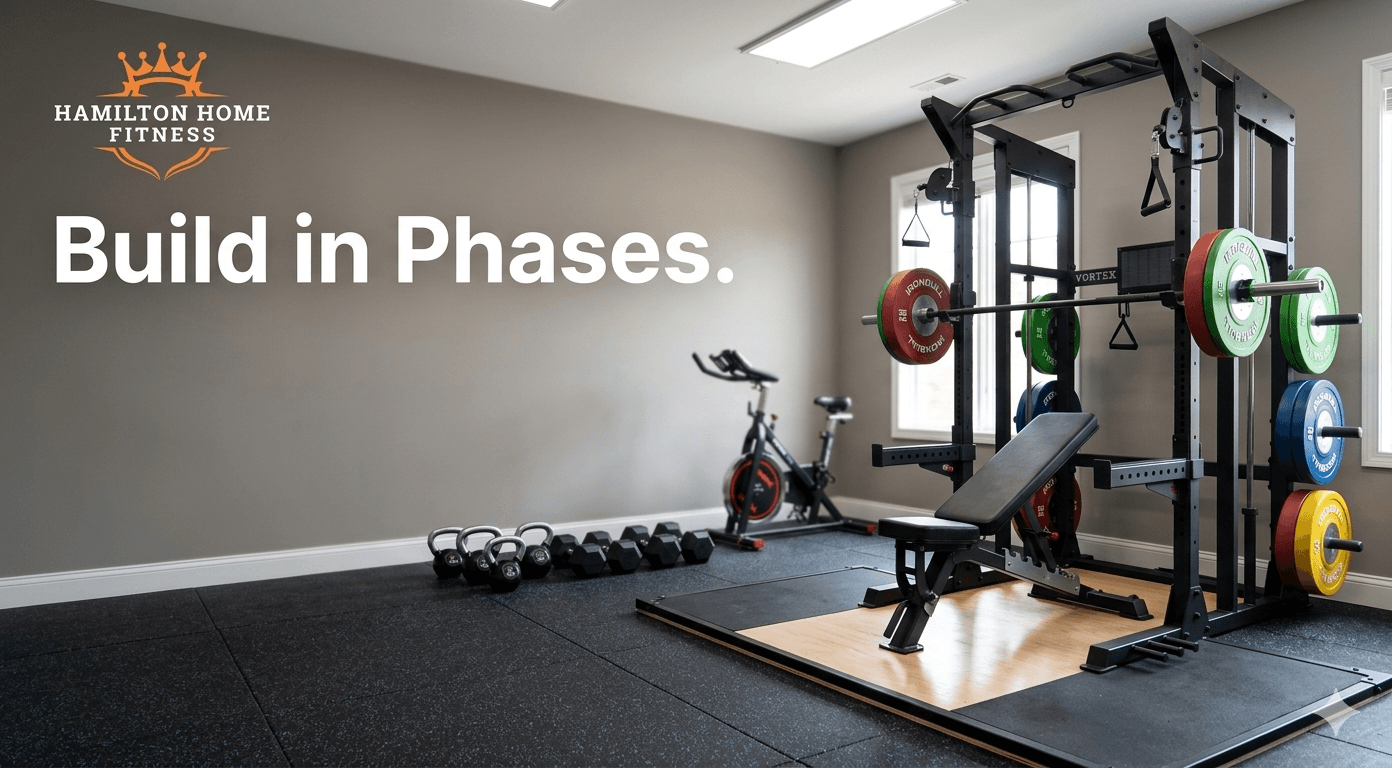
Every tier below assumes you've already handled flooring and the basic environment work from the previous section. Add roughly $150–$400 for flooring if you haven't.
$500–$1,000 starter build
Under $1,000, prioritize adjustable dumbbells, an adjustable bench, a pull-up bar, flooring tiles, and resistance bands—enough to train every major movement pattern at home. Skip the rack at this tier. A rack you can't afford to load properly is just an expensive coat rack.
Item | Budget |
Adjustable dumbbells (5–50 lb pair) | $300–$500 |
Adjustable bench | $150–$250 |
Doorway or wall-mounted pull-up bar | $40–$100 |
Resistance bands (set) | $30–$60 |
Flooring tiles or mats (basic coverage) | $80–$150 |
This tier works best for general fitness, weight loss, and early muscle gain. You can press, row, squat, hinge, pull, and carry — which is more than most commercial gym members actually do.
$1,500–$2,500 strength setup
At $1,500–$2,500, add a power rack or half rack, an Olympic barbell, a 230–300 lb plate set, and an adjustable FID bench—this is the most common stopping point for serious beginners. It's also the tier where the cost-per-year drops the most, because everything here lasts a decade or more.
Item | Budget |
Power rack or half rack (residential-grade) | $600–$1,100 |
Olympic barbell (20 kg, quality knurl) | $200–$350 |
Plate set (230–300 lb, bumper or iron) | $400–$700 |
Adjustable FID bench | $250–$450 |
Safety arms, J-hooks, basic attachments | included or $50–$150 |
Most readers building from scratch land here and stay here for years. If you can stretch to the upper end of this tier, do it—the difference between a $600 rack and a $1,000 rack shows up every session.
$3,000–$5,000 complete build
Between $3,000 and $5,000, layer in cardio, a cable or lat pulldown attachment, adjustable dumbbells, and quality flooring across the full footprint. This is the tier where a home gym genuinely replaces a commercial membership for almost any training style.
Item | Budget |
Strength foundation (rack, bar, plates, bench) | $1,500–$2,500 |
Cardio piece (rower, air bike, or quality treadmill) | $800–$1,800 |
Adjustable dumbbells | $400–$700 |
Cable or lat pulldown attachment | $200–$500 |
Full flooring coverage | $200–$500 |
Pick the cardio piece by training goal: a rower for full-body conditioning, an air bike for high-intensity intervals, or a treadmill for steady-state walking and running. Treadmills, rowers, and bikes for home cardio ship nationwide, and the choice should match your actual habits, not the most popular option.
$5,000+ commercial-grade or all-in-one
Past $5,000, you're either buying commercial-grade strength built to last 15–20 years or an all-in-one functional trainer that replaces several machines. Both routes are valid — the right one depends on whether you train more like a serious lifter or more like a generalist.
Commercial-grade route: Heavier-gauge rack, calibrated barbell, commercial bench, premium plates, and a separate commercial cardio piece. Higher upfront cost, but the lowest cost per year over a decade.
All-in-one route: A functional trainer or multi-station unit with stacks, cable columns, and an integrated pull-up. Best for tight footprints and households where multiple people train at the same time.
Families and couples often do better with the all-in-one route because two people can train side by side without sharing a barbell. Solo lifters chasing strength usually do better with the commercial-grade route. All-in-one home workout machines sized for residential ceilings cover the multi-user use case without sacrificing exercise variety.
Most home gym builds happen in phases. A starter build in month one, a rack and bar three months later, and cardio after six months. Phased builds use the gear better, spread the cost, and give you time to learn what you actually need next.
Match Your Setup to Your Space Type
Garage gyms favor full racks and platforms, basements favor compact racks and dehumidification, spare bedrooms favor adjustable dumbbells and folding racks, and apartments favor noise-controlled, vertical-only setups. The same budget builds very different gyms depending on the room — and the wrong build for your space wastes money even when every individual piece is correct.
1-car and 2-car garage gyms
A 1-car garage (roughly 12×20 ft) holds a full rack, a barbell, a bench, and one cardio piece if you keep the car parked outside. A 2-car garage allows a dedicated deadlift platform, more cardio, and storage without compromise.
What works in garages:
Concrete handles rack weight without reinforcement.
8–10 ft ceilings in most US garages cover pull-ups for average-height adults.
Bumper drops are tolerated by the floor when rubber is layered properly.
Insulating the garage door turns the space usable year-round.
What still trips garage builders up
Garage door tracks and openers eat 6–12 in of ceiling clearance—measure under the tracks, not at the peak.
Concrete sweats in humid months; a dehumidifier still matters.
Pulling the car in and out daily means the rack must sit against a wall, not centered.
The 1-car garage is the most common American home gym setup. It's serious, it works, and it covers every major lift.
Basement strength setups
Basements work well if the finished ceiling is 8 ft or higher and humidity is controlled. Use a shorter power rack or wall-mounted folding rack if clearance is tight, and treat the dehumidifier as a non-negotiable piece of equipment, not an accessory.
Basement-specific decisions:
Ceiling under 8 ft: Wall-mounted folding rack or short freestanding rack. Skip standing overhead press; switch to seated.
Ceiling 8–9 ft: A short rack works; pull-ups need kneeling or band-assisted variations.
Ceiling 9+ ft: Full setup with no compromise.
Concrete with moisture issues: Seal the floor before installing rubber. Trapped moisture under mats causes mold and rust.
Sound carries upward through basement ceilings more than downward through garages. Place rubber under the rack with controlled, deliberate lowering of the barbell instead of dropping it.
Spare bedroom and apartment gyms
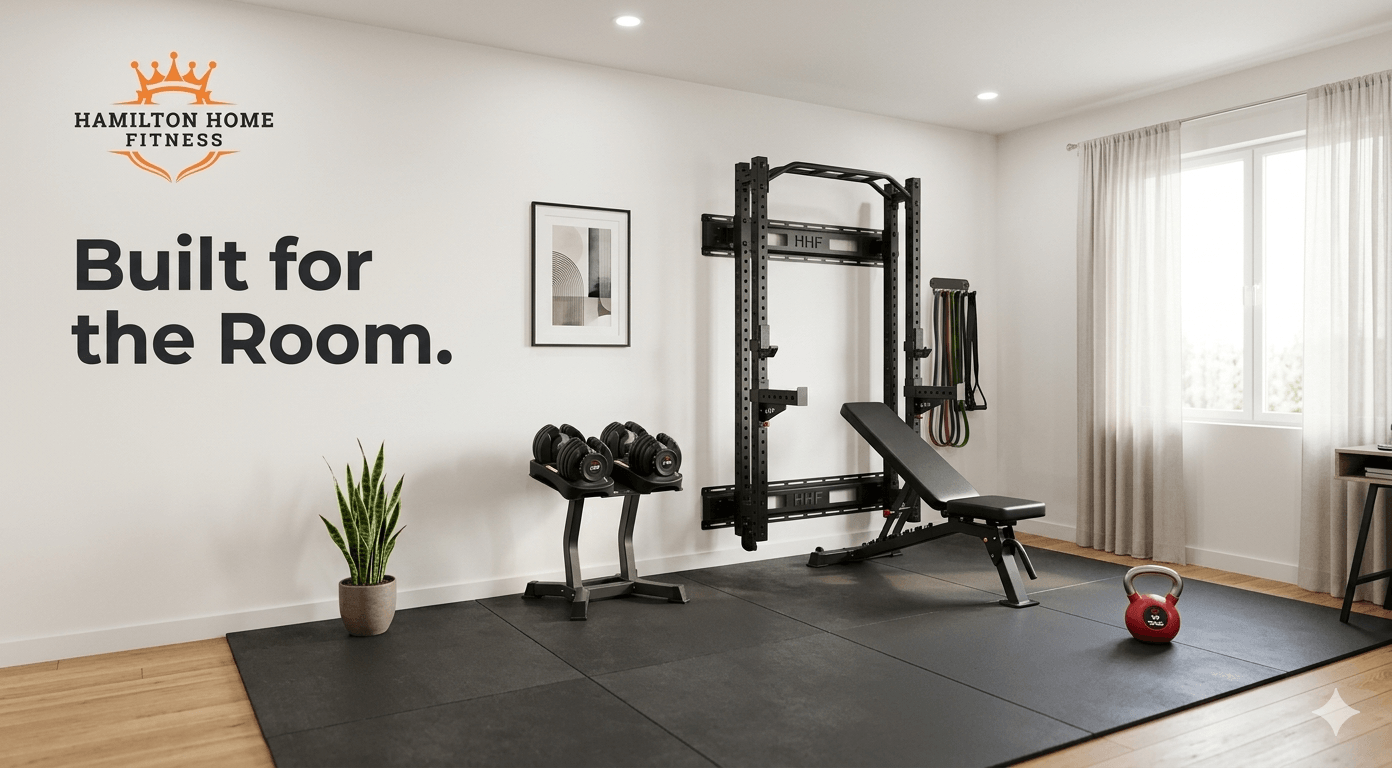
For spare bedrooms and apartments, build around adjustable dumbbells, a folding bench, a doorway pull-up bar, and resistance bands. Skip platforms and bumper drops. The goal is a complete training experience with a footprint your neighbors and your floor can tolerate.
Apartment-specific rules:
Train during reasonable hours, not at 6 AM or 11 PM.
Use thicker rubber tiles (10–12 mm) under any standing work.
Verify your floor's load rating before adding more than 250 lbs of equipment—most residential floors handle this fine, but stack weight near load-bearing walls when possible.
Vertical exercises (pull-ups, presses) need ceiling height verified before any purchase.
Spare bedroom gyms also work well for multi-purpose use. A folding bench tucks into a closet, adjustable dumbbells sit on a small stand, and the room still functions as an office or guest room between sessions. Adjustable benches sized for tight rooms handle this dual-use scenario without dominating the space.
Couples and families training in the same room benefit from equipment that adjusts quickly — adjustable dumbbells, an FID bench with fast pin changes, and bands rather than fixed pairs. Two people sharing a barbell creates downtime; two people with their own dumbbells do not.
Choose Brands Built to Last
A long-lasting home gym uses 11-gauge steel racks, calibrated barbells rated for daily training, and brands with real commercial reputations and parts availability—not the cheapest tier on a marketplace. The brand decision matters more than the model decision, because parts, warranty support, and resale value all flow from it.
What separates commercial-grade from disposable
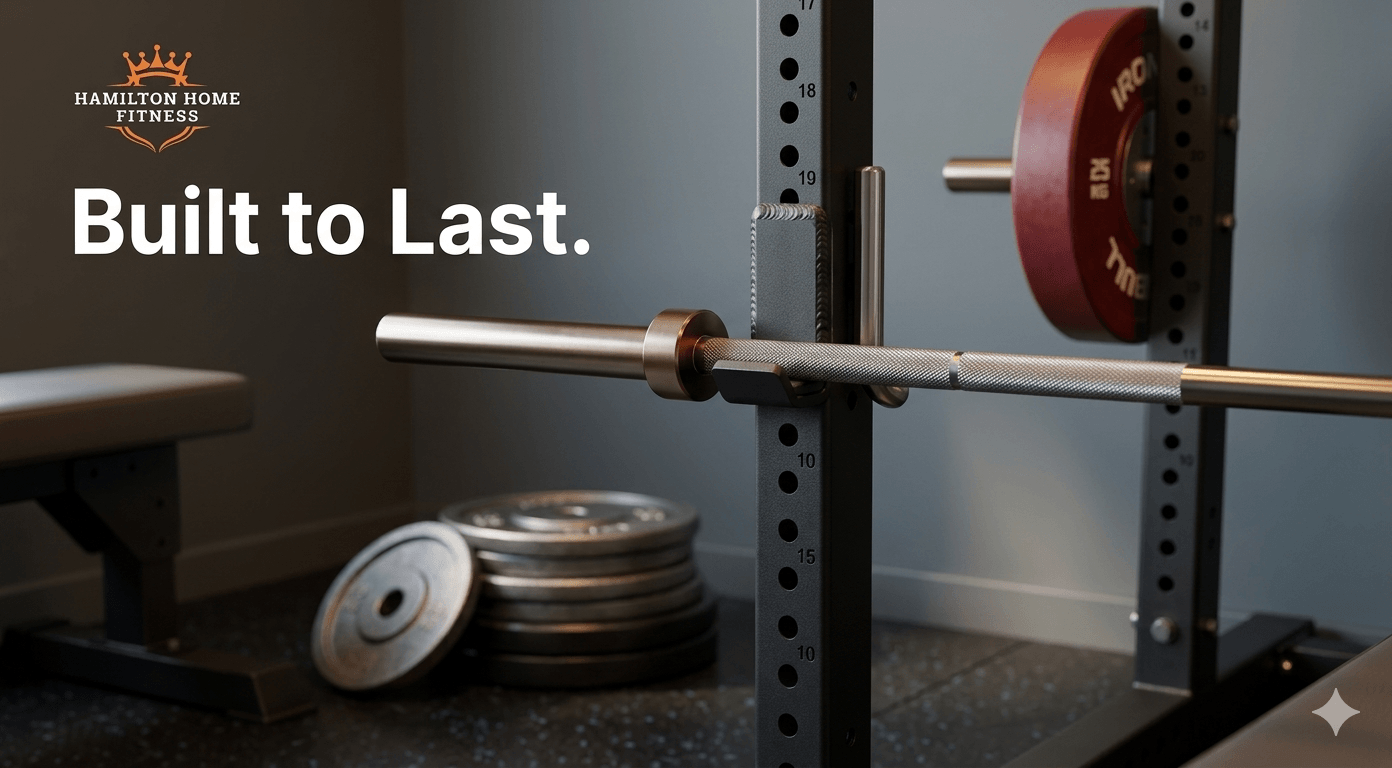
Look for 11-gauge or thicker steel, named country of manufacture, multi-year frame warranties, and parts availability through an authorized dealer. Those four signals catch most of the difference between a 15-year piece and a two-year regret.
Steel gauge: 11-gauge is the residential-to-light-commercial standard for racks; 7-gauge is true commercial. Avoid 14-gauge "value" racks for any serious load.
Country of manufacture: Stated clearly on the product page is a good sign. "Manufactured overseas with no country named" usually correlates with cheaper steel and unclear quality control.
Warranty length: Lifetime frame, multi-year on moving parts, and one-year minimum on upholstery. Anything shorter signals the manufacturer's own confidence level.
Parts availability: Authorized dealers stock replacement J-hooks, safety arms, cable parts, and bench pads. Marketplace sellers usually don't.
Buyers chasing the lowest price online routinely end up replacing the same piece twice within five years. The math rarely favors the cheap option once you include shipping the broken unit back and buying a second time. For a deeper breakdown of where the line actually sits, see how commercial and residential gym equipment actually differ.
Verified brands worth considering
TAG Fitness, Body Solid, Spirit Fitness, York Barbell, Concept2, and NÜOBELL are widely used in both commercial and serious home setups and ship through authorized US dealers. None of these are "the best"—each fits a specific job, and your build should pick the right brand per piece rather than chasing a single house brand.
TAG Fitness power racks and benches—strong fit for racks, plates, and barbells where commercial-grade durability matters. Free shipping through authorized dealers.
Body Solid—wide range of residential strength equipment, Smith machines, and functional trainers. Designed for home use without dropping into disposable-tier quality.
Spirit Fitness — known for residential and light-commercial cardio. Worth considering if the cardio piece will get daily use.
York Barbell — long-standing strength brand for barbells, plates, and accessories. Useful when the barbell is the centerpiece of the build.
Concept2—the rower most commercial gyms actually use. Holds resale value better than almost any other home cardio piece.
NÜOBELL — adjustable dumbbells with a fixed-dumbbell feel. A strong fit when floor space is the real constraint.
Buying through an authorized dealer adds a layer of protection most buyers underestimate. Returns, warranty claims, and parts orders all run through people who actually stock the inventory — not a third-party reseller who disappears after the sale.
Train Safely and Track Progress
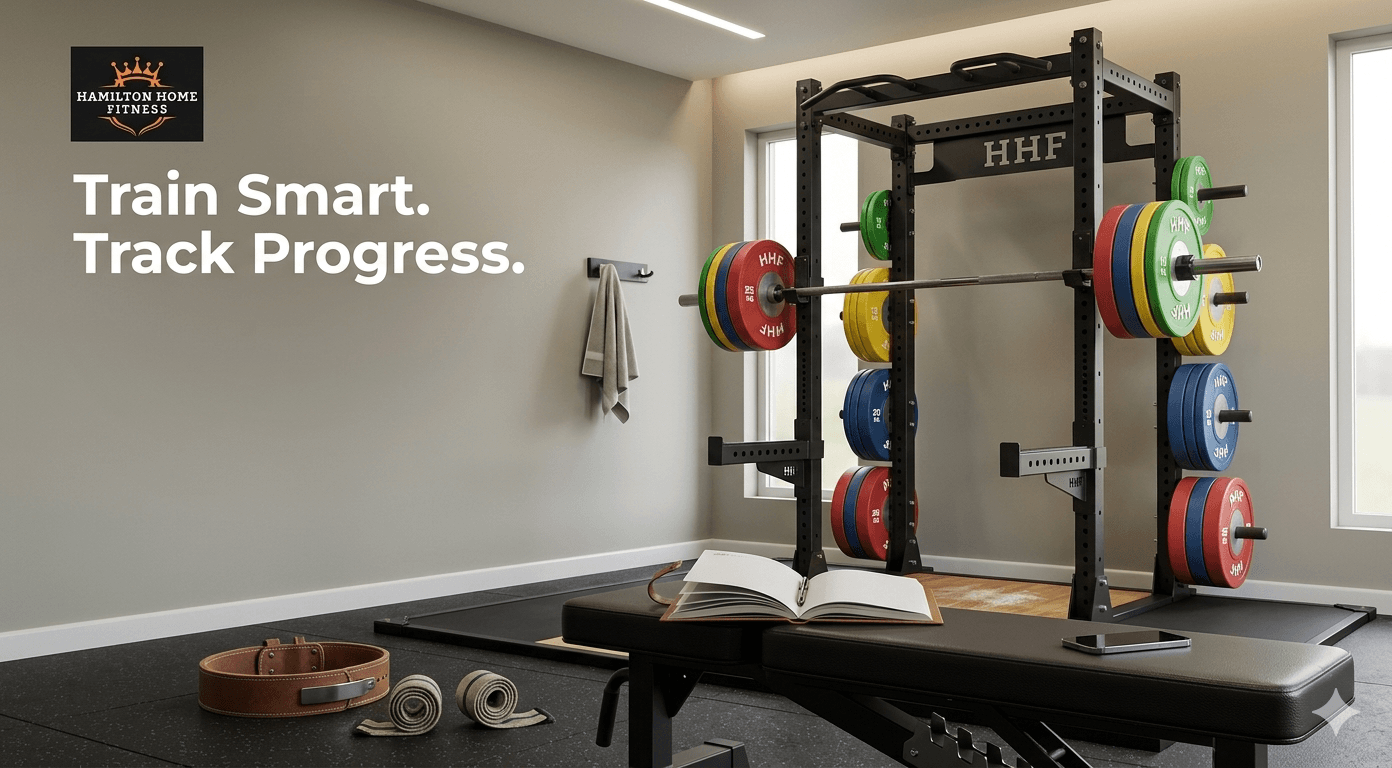
A working home gym needs three things after assembly: a simple training split, basic safety setup, and a way to track progressive overload. The equipment is the easy part. What you do with it three times a week decides whether the investment pays back.
Pick one beginner-friendly split
Beginners usually do best with a 3-day full-body or 4-day upper/lower split — both fit a home gym schedule and drive consistent progress. Skip more complicated splits until you've trained consistently for at least six months.
3-day full-body—squat, push, pull, and hinge every session. Best for time-pressed parents and professionals. Built-in recovery days between sessions.
4-day upper/lower — two upper-body days, two lower-body days. Better for muscle gain once recovery allows it.
Push-pull-legs — three or six days per week. Save it for later; it requires more time and recovery management than most beginners have.
Pick one and run it for at least 12 weeks before switching. Program-hopping is the most common reason home gyms collect dust by month four.
Safety basics for solo lifting
Solo lifting needs safety arms or straps set to dump height, a phone within reach, and a rule of never failing reps outside the rack. The cost of one missed bench press without spotters is higher than the cost of every safety measure combined.
Safety arms or straps: Set them at the depth where you could safely dump the bar. Verify height with an empty bar before loading.
Inside the rack only: Bench press, squat, overhead press — all happen inside the rack, every time. No, "I'll just do this one quick set outside."
Phone within reach: On the floor near the rack, not across the room.
Don't grind reps to failure: Stop one or two reps short of failure on heavy lifts when training alone. The risk-reward of true failure changes without a spotter.
Warm up properly: Cold muscles, no spotter, and ego loads are the three ingredients in most home gym injuries.
Build these habits in the first month. They stop being decisions and start being automatic by month three.
Tracking, accessories, and progression
Track every set in a simple log or app and add small accessories — a belt, wrist wraps, knee sleeves, and chalk — only when the lifts demand them. Most beginners over-accessorize and under-track, which is the opposite of what progress requires.
What to track each session:
Weight, reps, and sets for every working set.
Subjective effort (how hard the last rep felt) on a 1–10 scale.
Sleep and bodyweight weekly, not daily.
When to add accessories:
Lifting belt: When working squats and deadlifts cross roughly 1x bodyweight.
Wrist wraps: When pressing weights, start compressing the wrist into extension.
Knee sleeves: Optional warmth and proprioception for heavier squats; not required.
Chalk: When grip is the limiting factor on deadlifts and pulls.
Lifting shoes: Worth considering once squats become a primary focus.
Buy accessories when the lift demands them, not before. Lifting accessories that actually earn space include the few items that show up in most serious home gyms — everything else is optional.
Progressive overload is the engine. Add small amounts of weight, reps, or quality of execution week over week. A 2.5 lb jump on the bar every week or two adds up to roughly 50–100 lb of progress per lift per year, which is more than most commercial gym members ever see.
FAQ
Should I buy flooring before equipment when starting a home gym?
Yes—install flooring before any rack or platform ships. Retrofitting tiles or stall mats around a loaded rack is far harder than placing them on an empty floor, and proper flooring also defines your training zone, protects the subfloor, and reduces noise from day one.
Is it cheaper to buy a complete home gym kit or piece equipment together?
A bundled kit usually saves 5–15% on price and shipping, but piecing it together lets you upgrade specific items—usually the rack and barbell—to commercial grade. Kits win on speed and convenience; piecemeal wins on long-term durability and resale value.
Which home gym pieces hold their resale value best over 10 years?
Power racks from reputable brands, Olympic barbells, bumper plates, and Concept2 rowers hold value best because the designs barely change and demand stays steady. Cardio with screens, smart mirrors, app-bundled equipment, and budget-tier racks depreciates fastest.
Is a home gym actually cheaper than a gym membership?
Most $1,500–$2,500 home gyms pay back a $50–$80/month membership within 24–36 months, and well-built equipment lasts a decade or more. Savings on commute time, parking, and convenience stack on top of the direct cost comparison.
How long does it take to build a full home gym?
A starter build comes together in a weekend. A full $3,000–$5,000 build typically spreads over 2–6 months as the buyer adds a cardio machine and accessories. Phased builds work better than rushed ones — you learn what your next purchase should be by training on what you already own.
Final Thought
You now have what most home gym buyers spend weeks searching for: a fixed purchase order, real square-footage and ceiling rules for your room, four honest budget tiers, and a brand-quality framework that protects the spend. That's enough to start — and enough to stop second-guessing every product page you open.