Introduction
Your vest is in the cart, and the dropdown runs 20 to 40 pounds. On a 150-pound body, one wastes money and the other hurts you.
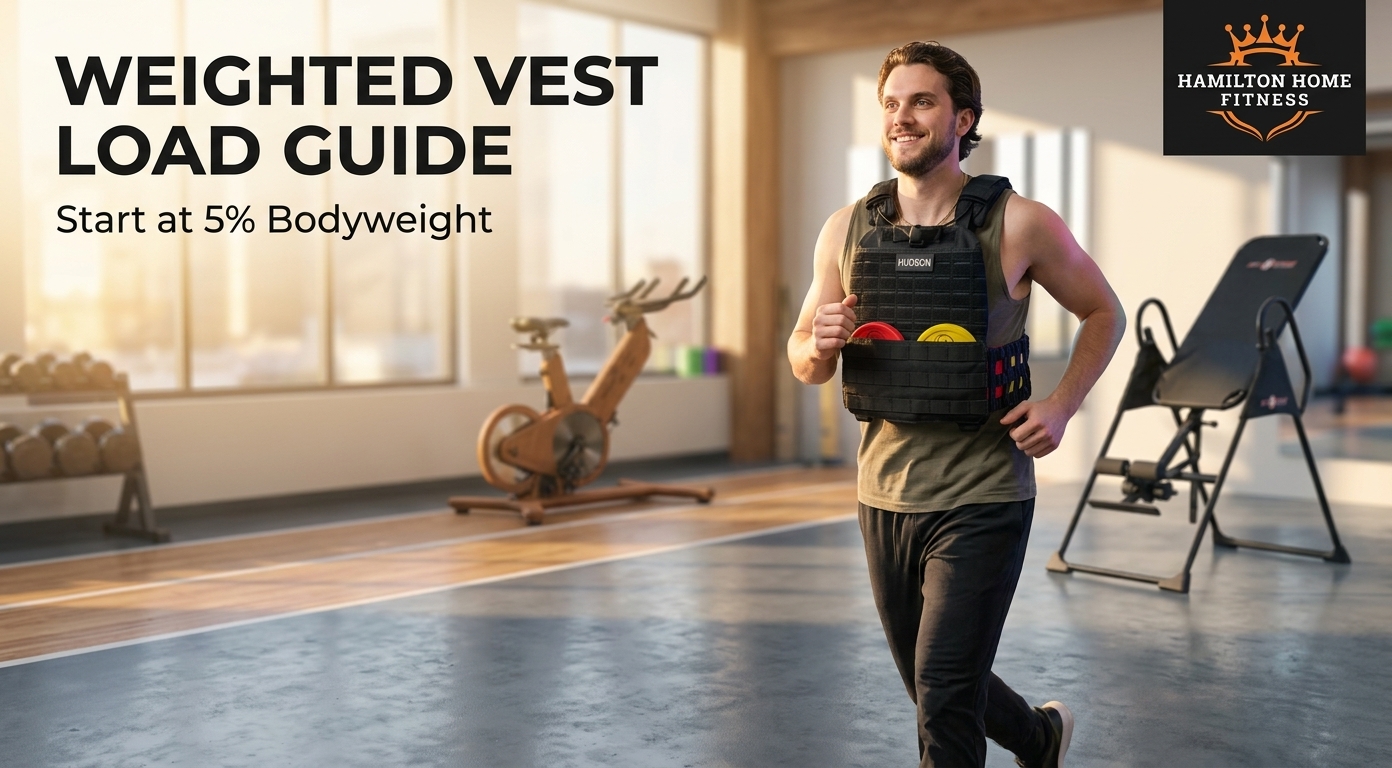
How much weight should a weighted vest be? Start near 5% of your bodyweight. But 5% and 10% are not two ends of one range. They behave differently.
You get a load figure for your activity, the trigger that earns more, and the signs to back off. Vests and the other wearable weights do not share one rule.
First, get clearance if you have a back, hip, knee, or ankle problem; a heart or lung condition; balance trouble; or a pregnancy.
Start at 5%, not somewhere in 5 to 10%.
Most people should start at about 5% of their bodyweight. Treat 10% as a ceiling to grow into, not a starting option. The two figures are not interchangeable points on one scale: they do measurably different things to how you move and how hard the session feels.
Here is what the research separates. At roughly 5% of body mass, added torso load barely registers. Running mechanics hold. Walking costs about what it always did. At 10%, that changes. Stride patterns shift, walking gets measurably harder, and endurance drops sooner.
That gap is the whole decision. Pick 5% and the load is invisible, which is precisely what you want while tendons and joints adapt. Pick 10% and you have changed the session itself.
So the range published everywhere is really a threshold. Starting at the top of it means starting where the research says your movement changes, on day one, before anything has adapted.
If your calculated number lands under 10 pounds, one of the adjustable weighted vests still makes sense, because you will not stay there.
At a genuinely small load, a fixed vest can work. York's entry-level vest at $70 suits someone who wants light resistance for walks and no progression plan. It is the wrong buy if you intend to add weight, since you cannot.
How Much Load for Each Activity
Walking tolerates the most load for the effort it costs. Running tolerates the least. Strength work sits between them. The rule underneath is simple: as impact and speed rise, the percentage you can carry falls.
That is why one number cannot cover four sessions. Match the load to the movement, then read across to what breaks first if you get it wrong.
Activity | Starting load | What changes first if too heavy? |
Walking | About 5% of bodyweight | Posture: shoulders round forward |
Running | 5% or less | Stride shortens, cadence rises. |
Hiking or rucking | 5–10%, built slowly | Low back fatigue before legs do |
Strength or calisthenics | 5–10% | Range of motion shrinks on reps. |
Circuits and interval work behave like running, not like walking, because the speed is what drives the load up. If most of your sessions look like that, size for the fastest thing you do and browse conditioning gear around it rather than the other way round.
Why Running Takes the Lightest Load
Running takes the lightest load of any activity here, because each stride already carries the impact your joints must absorb before any vest is added.
Your legs handle several times bodyweight on every footstrike. Adding 10% to your torso does not add 10% to that force; it adds more. Which is why the same vest that feels fine on a walk shortens your stride within a mile.
Fine steps matter more here than capacity. A 20 lb vest that loads with sandbags suits running because you can pull out a pound at a time, and it sits tight to the torso. It is the wrong buy for someone who only rucks and wants big jumps.
Rucking and Strength Can Go Heavier
Rucking, hiking, and slow strength work tolerate the heaviest loads, because the absence of impact and speed leaves more capacity for weight.
The honest ceiling is around 10% for most people and higher only for trained ruckers who have spent months building it. Loaded carries compress the spine over distance, so time under load matters as much as the number.
The plate-loaded Hudson vest suits this work, since structured plates sit firm and do not shift on uneven ground. It is the wrong choice for a shared household vest, because you cannot subdivide a plate for a lighter user.
When to Add Weight, and How Much
Add weight only after several consecutive sessions at your current load with no change in posture, stride, breathing, or joint comfort. Then make the increase small enough that the first session under it feels unremarkable. If the new load announces itself, the jump is too big.
"It feels easy" is not a test. These five are, and all of them have to hold:
Posture holds: shoulders stay back all session
Stride looks normal to anyone watching you
Breathing settles where it does unloaded
Joints feel the same the next morning
Three sessions felt easy, not just one
Then add two to four pounds. On a 15-pound load, that is a genuine step up, and a 3.5 lb plate is the smallest increase most people ever need.
Every fourth or fifth week, drop back to your last comfortable load and stay there. Tendons adapt slower than muscle, and that week is when they catch up.
None of this replaces barbell and dumbbell work. A vest loads the movement you already do. It does not build maximum strength.
Ankle and Wrist Load Works Differently
Ankle load is counted in single pounds, not percentages. One pound per ankle is not pointless. It is already enough to change how you walk, and that is exactly why the vest rule cannot be scaled down and reused here.
The reason is leverage. Your ankle sits at the end of a long limb that swings on every step, so weight there costs far more than the same weight on your chest. Loading at just 1 to 2% of bodyweight measurably changed walking speed, step length, and cadence in testing. About four pounds split across both ankles raised the oxygen cost of covering the same distance by roughly 18%.
So light works. Start at one to two pounds per ankle and stay there for weeks. Two to three pounds is enough for most seated and lying leg work, and a 10 lb ankle pair only makes sense if it adjusts down to those numbers. Something with a wide adjustable range beats a fixed pair, which is what the ankle and wrist weights range is built around.
Load both sides, always. One-sided weighting shortens the stance phase on the loaded leg and lengthens its swing, and your gait absorbs that asymmetry for as long as you wear it.
The same lever logic explains why torso load is the safer default for anything done on your feet and why loading a back extension with a vest beats holding a plate out in front of you.
Signs the Load Is Already Too Much
The first signals are mechanical, not painful. Any change in stride, posture, breathing, or range of motion means the load is wrong for that activity today. Pain arrives late, after the movement has already been compensating for a while.
Watch for these four, in the order they usually appear:
Shoulders creep forward and stay there
Steps shorten, or one side lands harder
Reps lose depth before they lose count
Breathing stays ragged past the usual point
Stop the session when any of them shows up. Not the next one.
Soreness that fades in a day or two is normal adaptation. Soreness that is still there on day three, or a joint ache that arrives during a session rather than after it, means the load outran your recovery. Two easy days and a lighter vest usually settle it, and recovery tools help, but the load itself is what has to change.
Sharp pain, swelling, numbness, or anything localized to one spot on a bone is different. That needs a clinician, not a deload.
How Long to Wear It in One Session
Most loaded sessions should run 20 to 60 minutes, with heavier loads sitting at the short end and light walking loads at the long end.
Duration and load trade against each other. A vest is a training dose, not clothing, so wearing one all day does not double the benefit. It just extends the window in which your posture can quietly fail.
Which Vest Matches Your Step Size
The smallest weight a vest can add matters more than the largest it can hold. The right vest is the one whose steps match the progression you just planned.
Capacity is what buyers compare, and it is rarely the constraint. A 40-pound vest you can only load in 10-pound jumps is worse for a beginner than a 20-pound vest that moves a pound at a time, because the jumps are what you actually live in.
Two systems, and they are not compatible. Sandbag vests load with small pouches, so they step in roughly one-pound increments. Plate vests take rigid plates in fixed sizes, which start at 3.5 pounds and climb from there. Plates do not fit sandbag vests.
The 20 lb adjustable vest at $51.15 is the cheapest way into fine steps, and it suits a first vest for most bodyweights under 200 pounds. It is the wrong buy if your six-month target is already past 20.
For that, the 40 lb version gives headroom you grow into rather than start at.
On the plate side, 13.5 lb plates are the top of the range and the wrong first purchase for almost everyone.
FAQ
Is a 20 lb weighted vest enough?
It depends entirely on your bodyweight. Twenty pounds is about 10% of a 200-pound body and closer to 17% of a 120-pound one, so the same vest is a fair target for one and an overload for the other. Our return window covers a sizing mistake.
Does the vest's own weight count toward your load?
Yes. An empty vest can weigh several pounds before you add anything, so subtract it before you choose plates. If you calculated 8 pounds and the vest is 4, you need 4 pounds of weight, not 8. Fitting multiple users? Book a gym design consultation.
Final Thought
The right load is the one you can carry without changing how you move. It is almost always lighter than the vest you were about to buy.
The next increase is earned by three clean sessions, not by the calendar.
Pick the number you calculated here, not the biggest one in the dropdown. Hamilton Home Fitness is an authorized dealer for more than 40 brands, with a team you can call before you choose.