
Introduction
Congratulations — you’ve chosen one of the most trusted indoor rowers for home or studio training: the Concept2. This Hamilton Home Fitness guide delivers clear, practical steps to unbox, assemble, and tune your machine so you can begin safe, efficient workouts quickly. We focus on avoiding common assembly mistakes, mounting and updating the PM5 monitor, optimizing rail and footstrap fit, and protecting floors when storing or moving your rower.
Before you begin, set aside a clean workspace, basic tools, and 60–90 minutes of uninterrupted time. Each step in this guide pairs short, extractable answers for quick lookup with deeper explanations and visual checks so you never miss critical torque, alignment, or safety points. We also give time estimates, recommended tools, and practical tips for doing the job solo or with a helper.
Whether you own a Model D or E, are setting up a studio, or reassembling after a move, you’ll find step-by-step guidance for safe lifting, rail join alignment, PM5 pairing, and floor protection. Hamilton Home Fitness provides professional installation if you prefer, but with this guide most users finish confidently and preserve long-term performance. Start carefully and enjoy every session. Your rower, properly set up, rewards consistency. Begin now.
Unbox, Tools & Quick Start
Unboxing Checklist
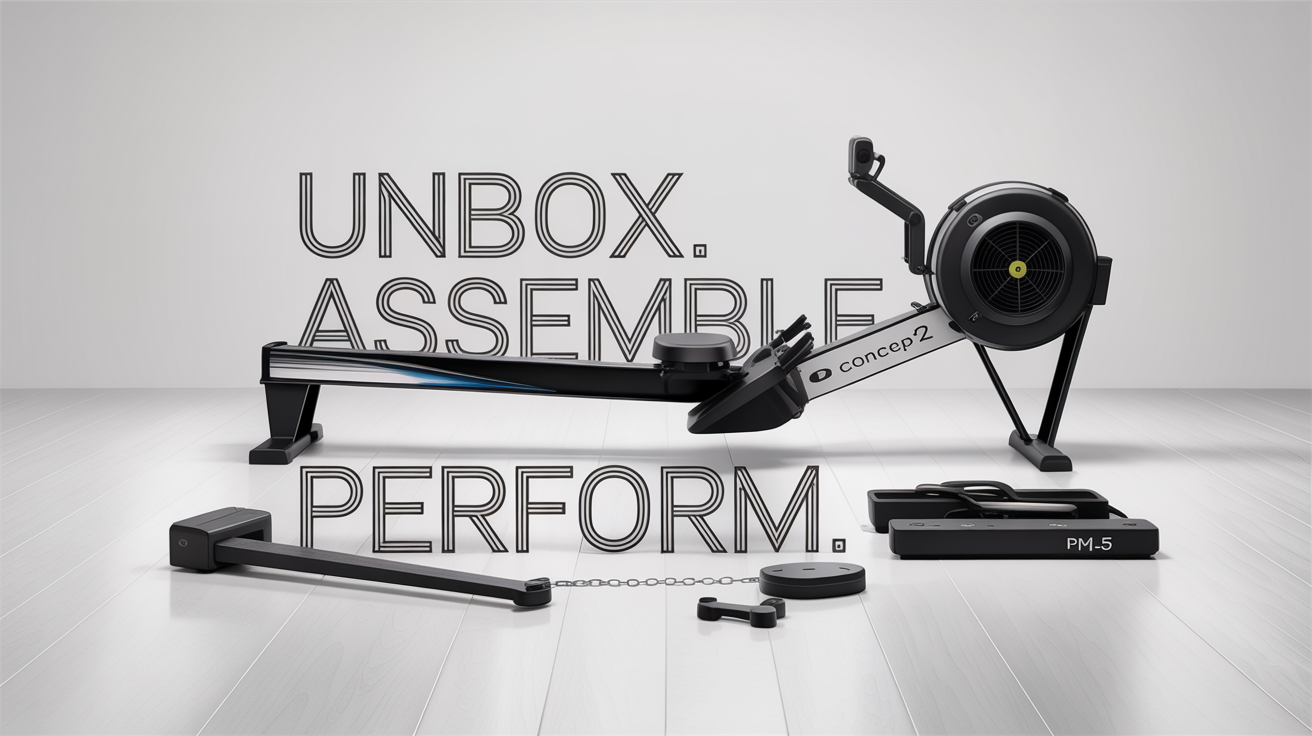
Open the box on a clean, flat surface and gently remove components, laying them out so you can match each piece to the packing list. Keep parts grouped by assembly stage—front leg hardware, rear leg hardware, rail join bolts, PM5 bracket and cables—so you won’t mix fasteners. Inspect the monorail, feet, seat, chain, footstretcher, and PM5 enclosure as you go. Retain all bags with small bolts and the cardboard insert until assembly is complete. Save the original packaging and accessory trays in case you need to return the unit or move it later.
Tools & Time Estimate
For most Model D assemblies you’ll need a Phillips screwdriver, an adjustable wrench, 5/16 and 3/8 sockets or spanners, and an optional torque wrench for precise tightening. A cordless driver helps but set it to low torque to avoid stripped threads. One experienced person often completes assembly in 30–45 minutes; first-timers should plan 60–90 minutes. If you’re uncomfortable lifting or aligning parts, recruit a second person to halve the effort and reduce risk. Prepare a towel or soft mat to protect the rail and a small container for grouped fasteners so nothing rolls away.
Inspect & Report Damage
Before tightening a single bolt, photograph every major component and the box, record the serial number, and confirm the parts list is complete. Test “must-run” functions by powering the PM5, navigating the menu, and pulling the chain through several strokes to check free movement. If you find dents, cracked plastic, missing hardware, or a bowed rail, document damage with photos and timestamps, note your order and serial numbers, and contact Concept2 support immediately. Early documentation speeds warranty claims and ensures you get replacement parts without delay.
Assemble Concept2 Model D
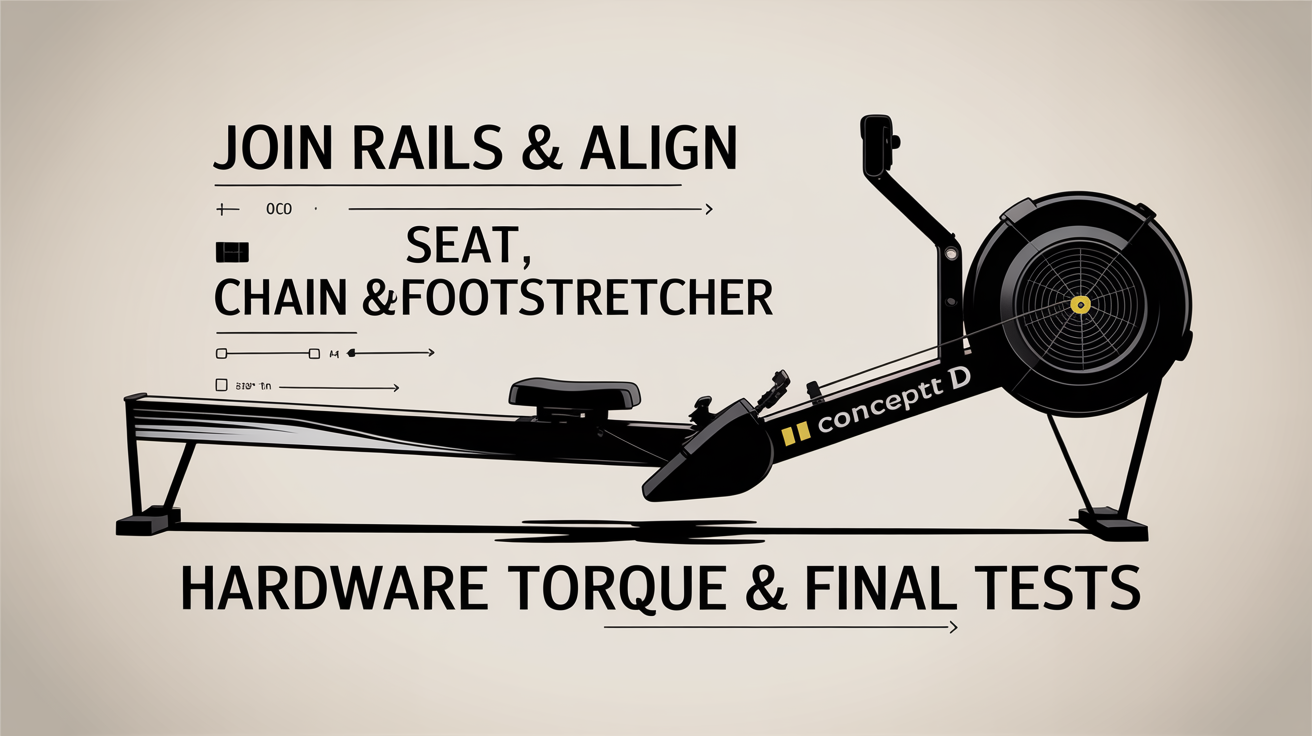
Assemble in a steady, repeatable order so you avoid corrections later: join the two halves, align the rail, attach legs, then fit moving parts and electronics. Work on a soft, level surface, keep hardware organized, and follow a “hand-tight then torque” rule so threads seat before final tightening.
Join Rails & Align
Lift the front and rear sections together, engage the alignment pins, and seat the rail ends fully. Install the rail-joining bolts loosely at first, alternating sides as you hand-thread each bolt to prevent twist. Once all bolts are started, tighten incrementally in a crisscross pattern until snug. Slowly roll the seat across the seam—any catch or noise means loosen, realign, and retry.
Seat, Chain & Footstretcher
Slide the seat onto the runners and check unobstructed travel. Mount the chain or strap assembly and ensure it moves freely with consistent tension—not floppy, not overtight. Fit the footstretcher, placing the heel cup and routing straps so they lie flat across the midfoot; tighten straps enough to hold the foot securely but allow toes to flex. Confirm handle routing keeps cables clear of the seat path.
Hardware Torque & Final Tests
After components are aligned, bring bolts to final torque where manufacturer specs exist; otherwise tighten evenly until components are firmly seated. Avoid over-torquing—stripped threads cause bigger issues. Perform final checks: full-stroke seat travel, chain glide and return, footstrap security, and a dry-run pull to confirm smooth damper and flywheel behavior. Power on the PM5 and verify basic readings before your first workout. If anything feels off, stop and correct it—early fixes prevent warranty headaches and ensure a lifetime of smooth rows.
Install PM5 Monitor & Connect
The PM5 is your workout brain—mount it securely, power it reliably, and pair it cleanly so workouts and apps behave predictably. Do the mechanical mount first, then power and firmware, and finish with pairing and a short test row to confirm readings.
Mounting & Power Options
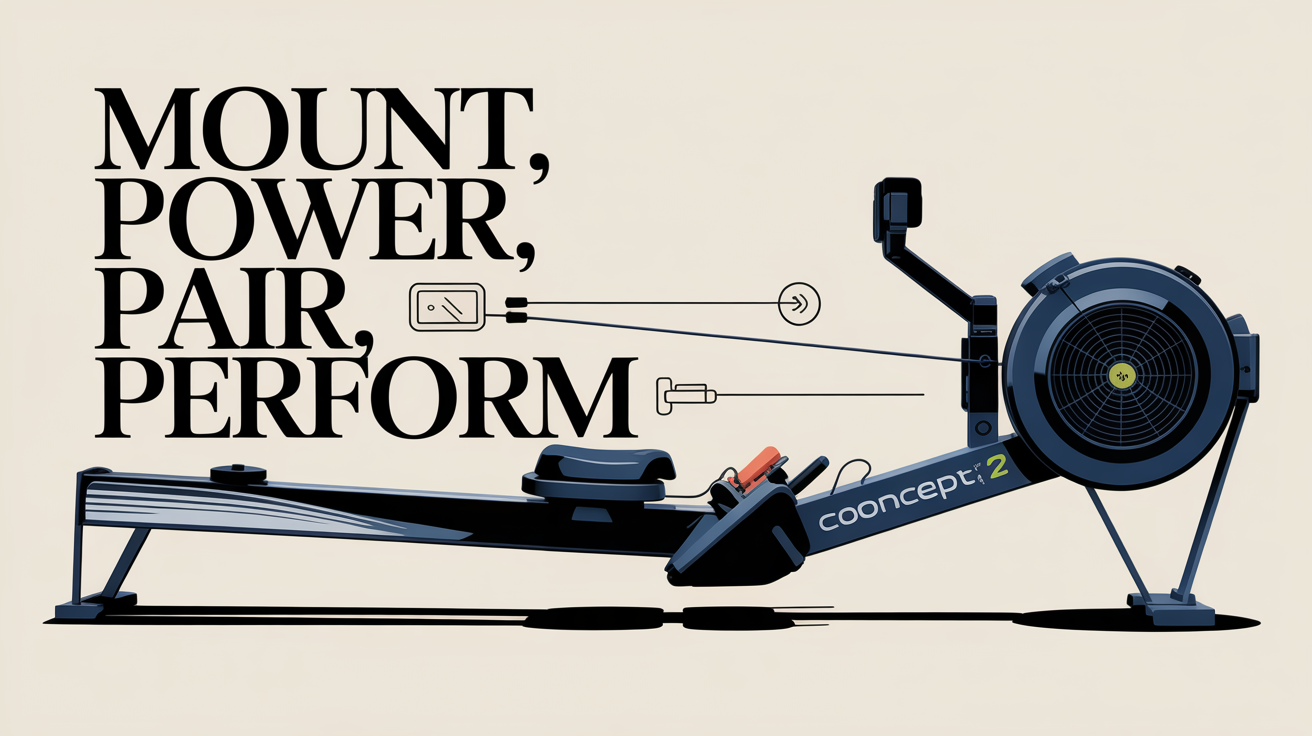
Attach the PM5 to the monitor bracket and fasten the retaining screw or clip so it can’t shift during use. Route any monitor cable away from the chain and seat path and secure it with a zip tie or clip so it won’t snag. Power the PM5 with fresh AA batteries for portability or use a dedicated USB/AC power source for continuous studio use; keep a spare battery set on hand for uninterrupted sessions. Angle the display for comfortable sightlines and protect the PM5 from direct sweat by using a small towel or sweat guard.
Firmware, Pairing & Apps
Before heavy use, check the PM5 firmware version and apply updates via the manufacturer’s update procedure or utility to ensure compatibility with apps. In the PM5 menu enable Bluetooth and/or ANT+ as needed, then open your app (ErgData, Zwift, or others) and follow its pairing flow—select the PM5 from the device list and confirm data appears. Do a short calibration row and verify stroke rate, split, and drag factor look reasonable in both PM5 and the paired app.
Troubleshoot & Reinstall
If the PM5 won’t pair, reboot the monitor, reseat batteries, and confirm the bracket and connector are tight. For flaky readings, re-run firmware updates, check for physical damage, and ensure cables aren’t pinched. After moving or reassembly, reattach the PM5, confirm mounting security, and re-pair apps. Use a factory reset only as a last resort, and document serial numbers and firmware versions before contacting support.
Leveling, Flooring & Space
Leveling on Carpet & Mats
Carpet needs a rigid underlayer to prevent rocking and maintain smooth seat glide. Place a dense fitness mat or a sheet of 3/4" exterior plywood under the rower to distribute weight; use non-compressible shims under individual feet for fine adjustments and avoid soft, makeshift materials that compact over time. Adjust each foot pad until lateral wobble stops, then roll the seat full length to confirm no binding at any point.
Vertical Storage & Flip
Flip the rower for vertical storage only on a stable, protected surface and with two helpers if you’re unsure. Lift from the manufacturer-recommended points, support the rail, and secure the unit after standing it up so it cannot slide or tip. Keep the PM5 and damper protected from knocks and humidity; avoid placing the rower in damp basements or against exterior walls where condensation can form.
Protect Floors & Clearance
Protect hard floors with a heavy-duty, non-slip gym mat sized for the rower plus working space; for hardwood, add a thin anti-scratch felt under the mat’s contact points. Leave at least two feet front and rear for mounting and dismounting and allow full leg extension room if you’ll flip vertically or mount a TV. Check ceiling height before standing the rower upright and mark floor positions for repeat, consistent placement—this preserves rail alignment and reduces recurring leveling work.
Maintain, Move & Troubleshoot
Lubrication & Cleaning
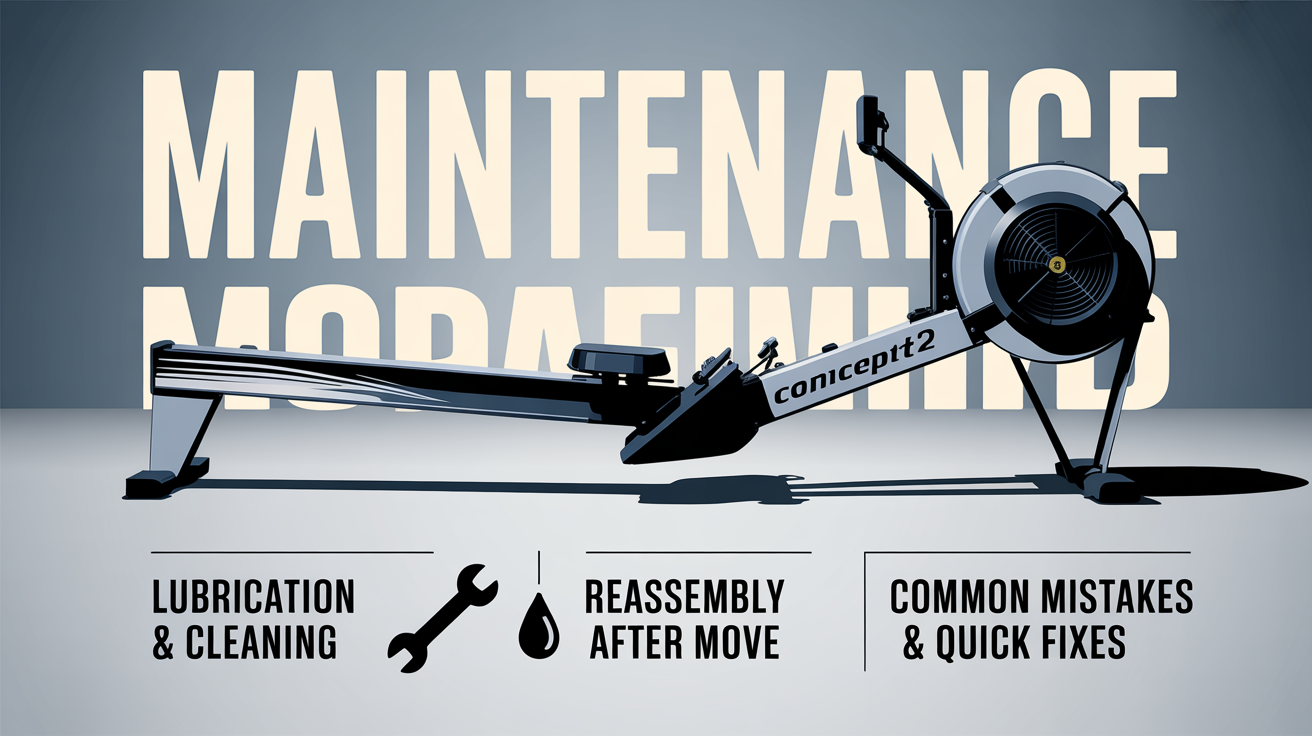
Wipe sweat and dust after every session; corrosion and grit degrade glide and electronics. Clean the monorail with a soft, lint-free cloth and apply the manufacturer-recommended rail lubricant sparingly—typically a 100% silicone spray or Concept2-approved product—every 1–3 months depending on use. Lightly oil the chain with the recommended chain lube to prevent rust, then wipe off excess. Never use thick oils or household sprays that attract dirt. Inspect seat rollers, footstretcher hardware, and leg feet during routine cleaning and replace worn parts promptly.
Reassembly After Move
After moving, re-check rail straightness and alignment by slowly rolling the seat end-to-end; binding usually indicates a misaligned joint or uneven feet. Verify bolt torque (hand-tight then final torque where specified), re-seat the PM5 bracket and re-pair apps, and confirm the chain moves freely with correct tension. If you shipped the rower, remove shipping hardware and protective spacers before powering up. Run a full-stroke test and short workout to confirm drag, stroke rate, and monitor readings are stable before scheduling regular sessions.
Common Mistakes & Quick Fixes
Avoid overtightening bolts, which strips threads or distorts housings; back off and retighten evenly instead. If the seat binds, loosen nearby fasteners, clean the rail, and realign the joint. For lateral wobble, adjust individual foot pads or add non-compressible shims under feet. If the PM5 shows odd data, reseat batteries, update firmware, and check connections. Replace stripped bolts or use proper-sized fasteners; for persistent electrical or mechanical faults, stop use and contact support or a professional technician. Regular, small maintenance actions prevent most failures and preserve warranty coverage.
Final Thought
Setting up your Concept2 the right way turns effort into lasting reward: smoother strokes, accurate PM5 data, and workouts you actually enjoy. Follow a calm, checklist-driven process—unbox carefully, join and align the rail, mount and update the PM5, level the rower, and perform routine maintenance—to protect your warranty and avoid frustrating downtime.
Small, deliberate actions now save hours later. If you want certainty and speed, Hamilton Home Fitness offers professional setup and post-install support to tune your rower to your body, space, and tech ecosystem. Bookmark this guide, share it with your training partners, and use it as a living reference for moves, storage, and troubleshooting.
A well-assembled Concept2 doesn’t just last longer; it makes every session safer, more effective, and more satisfying. Start carefully, row confidently, and let Hamilton Home Fitness help you get the most from every stroke.